

How to Choose Quick Weave Hair Bundles That Blend
The right choice depends on your style, the length you want, and whether you'll wear the finished hair curled or straightened. For many full-head installs, three bundles suit shorter styles, while four may work better for longer or fuller looks.
Compare texture and quality, and decide whether you'll leave some natural hair out. Once you make those choices, plan the cap, installation, and care around the bundles you buy.
How many quick weave hair bundles do you need?
Bundle count depends on hair length, desired fullness, and style. Use these amounts as starting points for a full-head install:
Match the count to the length
For lengths under 18 inches, three bundles usually give a natural-looking, full head. At 20 to 24 inches or longer, plan on four bundles, since longer wefts cover less of the head per bundle.
Three to four bundles suit many full-head installs. For extra volume or longer hair, four to five bundles can provide more coverage and density. A closure or parting piece can reduce the need for leave-out, but you'll still need wefts to cover the back and sides.
Adjust for your style
A sleek, flatter style can often use fewer bundles than a full, layered look. For a flip-over style, extra wefts can help maintain coverage as the hair moves from side to side.
Consider your braid pattern, too. The braiding pattern and spacing between tracks affect how much coverage you need. If you're unsure, one extra bundle can help you avoid running short, though it may make the finished style denser than intended.
Choose texture and length for the finish
Texture affects how bundles blend with leave-out and how much styling a quick weave needs. Choose a pattern that suits your look, rather than one that needs frequent heat to change.
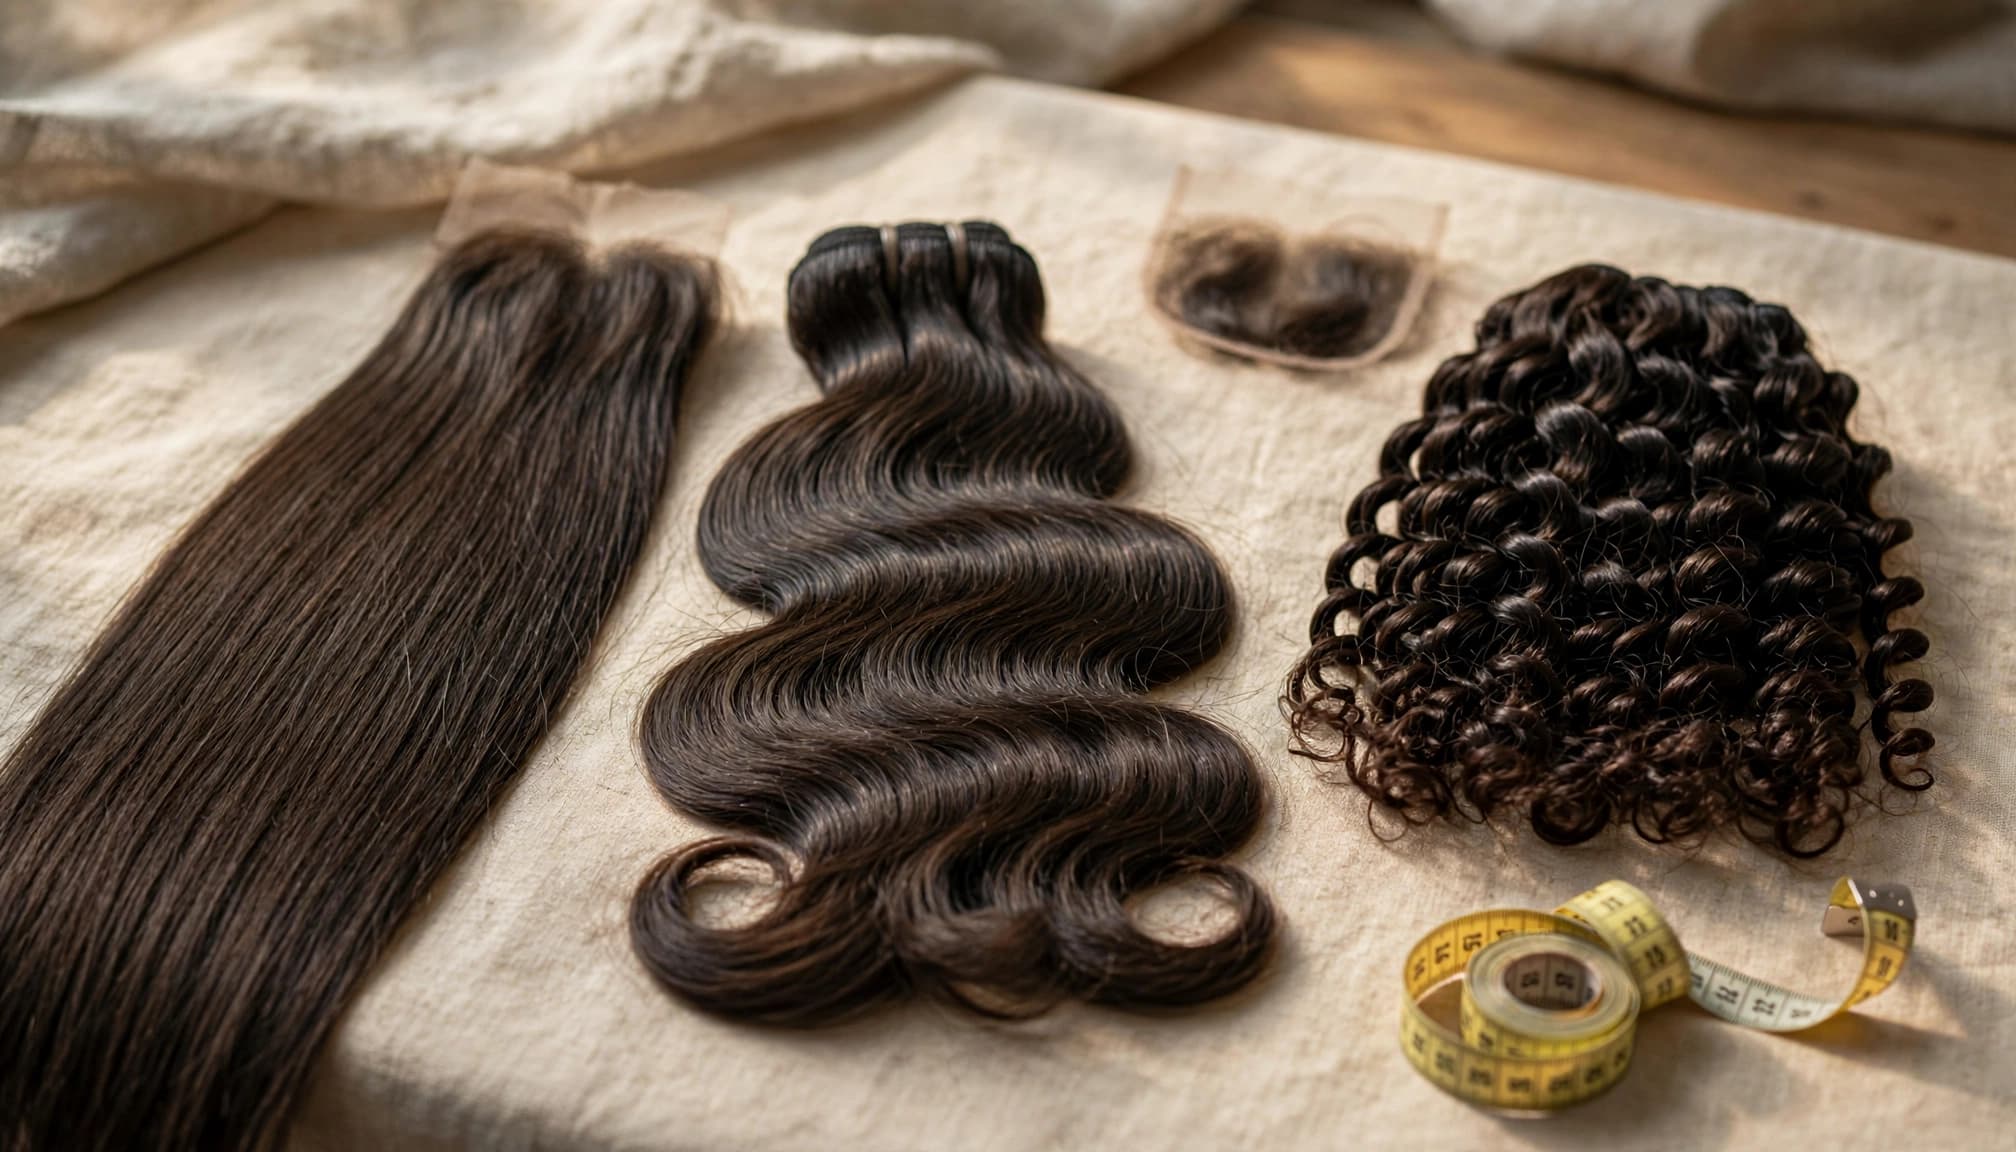
Match the texture to your leave-out
If you plan to leave natural hair out, choose bundles with a pattern that blends after styling. Straight bundles suit a smooth finish, while body wave adds soft bends and volume. Curly textures work best when you can shape your leave-out to match, or use a parting piece to cover the area.
A closure gives you a defined part without exposing natural hair. One tutorial paired a 16-inch 2x6 body wave closure with 18, 20, and 22-inch Brazilian human hair bundles. The different lengths create a gradual shape, but your preferred finish and head size affect the best pairing.
Pick a length that works with your plan
Bundle length is measured when the hair is pulled straight. Curly or wavy hair can look shorter in its natural pattern, so allow for that difference when choosing.
For a layered quick weave, staggered lengths can create shape without requiring every bundle to be cut to the same length. If you plan to curl or straighten the hair, choose a texture and fiber suited to that styling. Use a heat protectant and keep your hot comb at a moderate temperature. Heat may loosen a wave pattern, and repeated use can wear down the hair over time.
Our hair bundles with matching closure bring the parting piece and wefts together for styles that don't need leave-out.
Check quality and choose human or synthetic hair
Bundle labels describe what a seller says the hair contains, but appearance and handling matter too. For a quick weave, check product details and close-up views of the wefts, texture, length, fiber type, and any included closure.
What to look for in a bundle
Look for even, secure construction and hair with a consistent texture from top to ends. If possible, run your fingers through a bundle and check for snagging or shedding. Heavy shedding, persistent snags, or a strong chemical smell are reasons to ask the seller for more information, not proof of a defect.
"Remy" is a label often used for this fiber, but it doesn't guarantee how the bundles will behave in your install. Focus on the stated hair type, care directions, and whether the texture and length suit your plan.
Compare human hair and synthetic hair
Human hair is more adaptable for heat styling, but it needs care and may cost more. Synthetic hair is often less expensive and can come pre-set in a style, but many types aren't suitable for hot tools. Follow the product's heat instructions rather than assuming all synthetic fibers tolerate heat.
For switching between straight and curled styles, the former usually offers more flexibility. If you want one set look at a low cost, the latter may fit. A flip-over tutorial used three bundles for about $30 total, or roughly $10 each. That example isn't a standard price, and these fibers can tangle or need frequent brushing.
Compare bundle costs before you buy
Prices vary by fiber, length, texture, and included pieces. Shopping listings show bundle sets for roughly $60 to $192, while one tutorial's three synthetic bundles cost about $30. The Unice quick weave guide says quick weaves are generally more affordable than sew-ins.
| Option | Example cost | Considerations |
|---|---|---|
| Three synthetic bundles | About $30 total in one tutorial | Low-cost option; heat tolerance and tangling vary |
| Bundle sets in shopping listings | Roughly $60 to $192 | Prices vary by length, material, and what's included |
Compare what each set includes before buying. A set with a closure may cost more than bundles alone, but includes the piece that covers the parting area. Choose a set that fits your style so you don't pay for length or density you won't use.
Prepare the cap and install the wefts
A quick weave attaches hair wefts to a protective cap with bonding glue. The protective cap creates a barrier between the glue and natural hair, but it must fit securely and stay in place during installation.
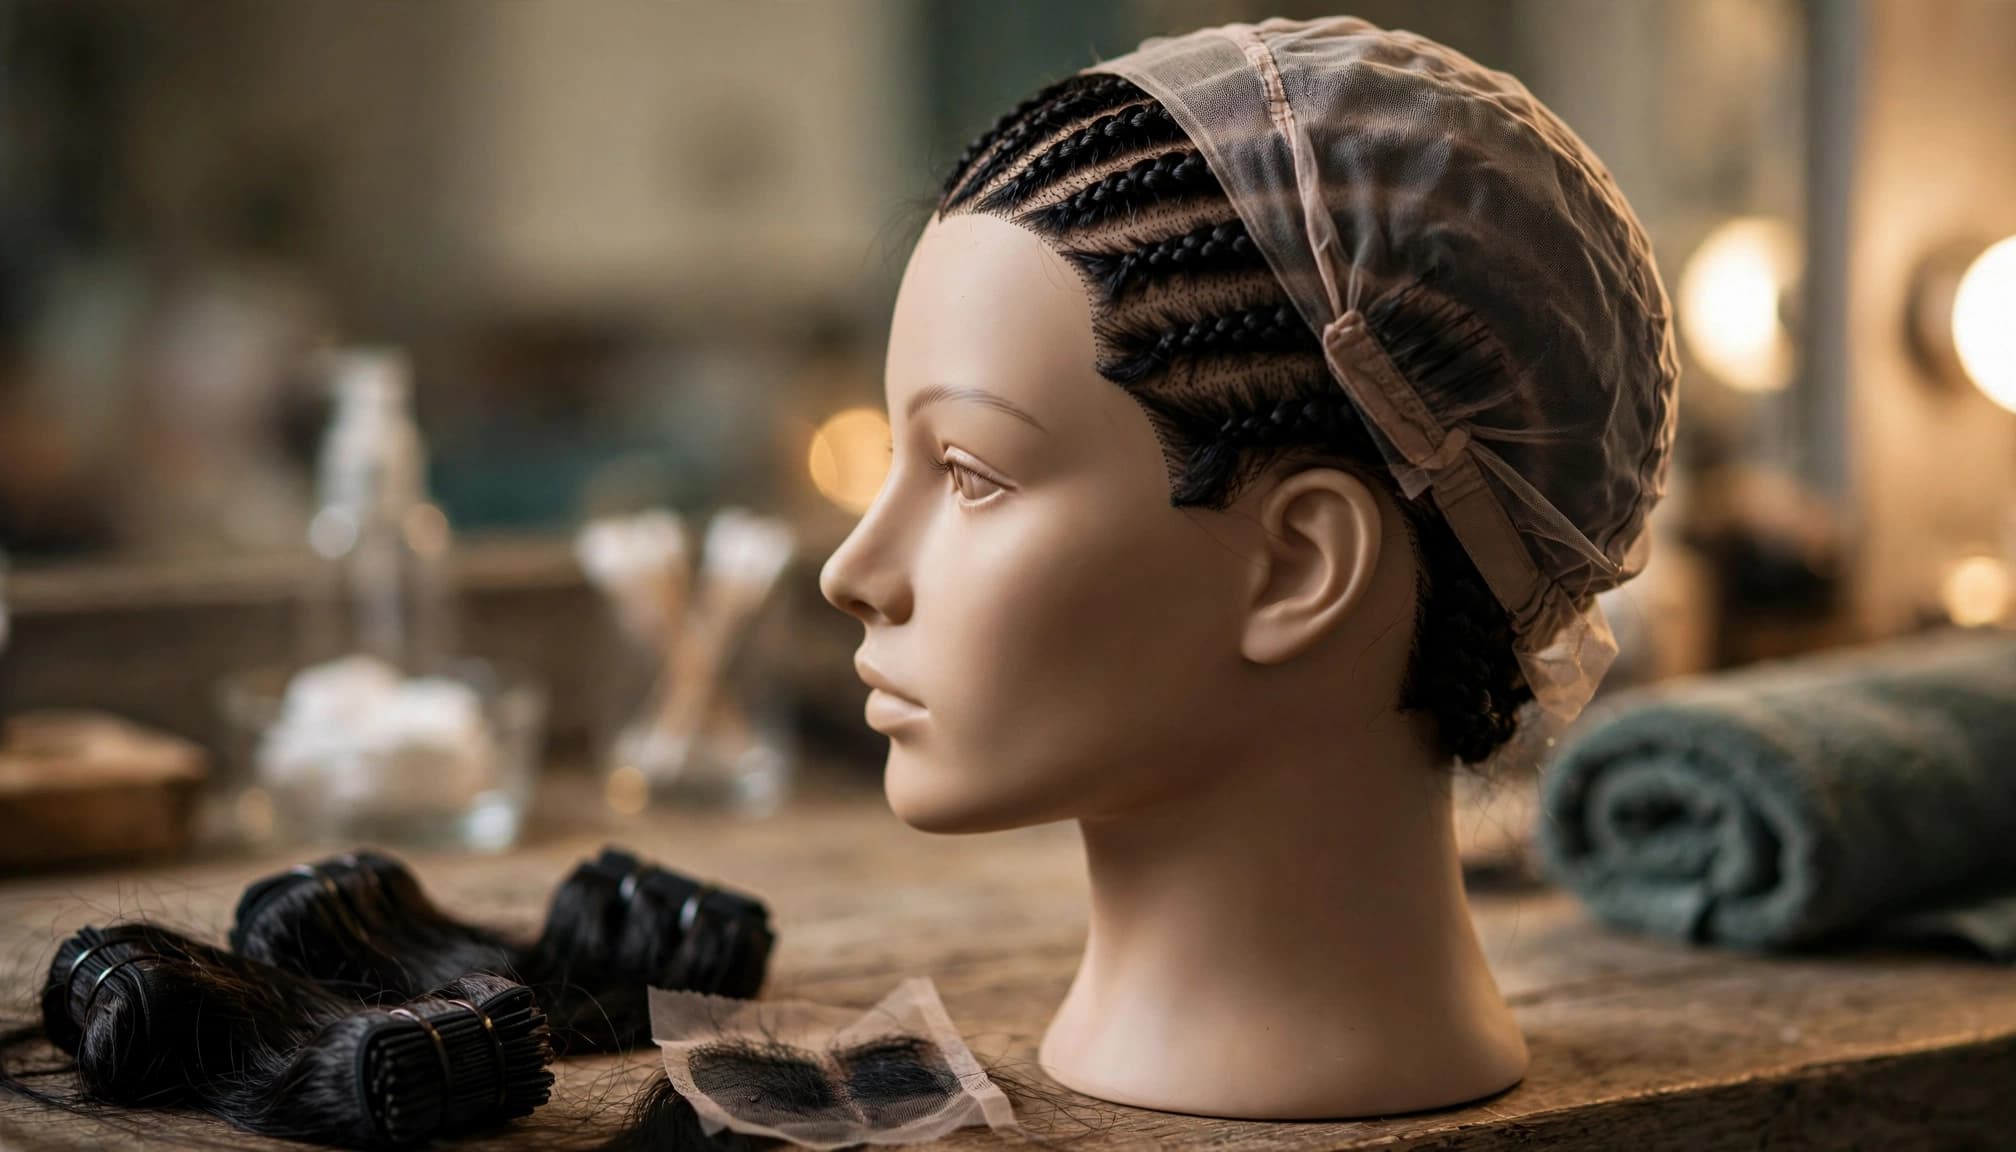
Flatten the natural hair and seal the cap
Start with clean, conditioned natural hair and let it dry completely. Braiding or cornrowing the hair flat beneath the cap helps keep the base smooth. If you aren't braiding, molding gel can slick the hair back, but let it dry before covering it.
Stretch a protective cap over the flattened base. Apply protectant spray in light layers, blow-drying each layer fully before applying the next until the base feels firm. Cut away excess cap only after the base is firm. If the cap slides while you're cutting, add another layer of protectant or blow-dry longer.
Place the tracks and finish the top
Plan the wefts before adding bonding glue, starting at the nape and working upward. Cut each weft to fit, then apply bonding glue to the cap, never directly to natural hair or the scalp. Follow the adhesive directions and let each track set before adding the next.
For a closure style, stitch it in place and secure it with a melt band as needed. A melt band can hold it while it sets. Use a hot comb to lay leave-out flat, keeping the hot comb away from the scalp and applying heat protectant first. During quick weave installation, a closure or parting piece can simplify blending and reduce exposed hair; uncovered hair needs a close texture match and careful styling.
Shop Best Sellers
-
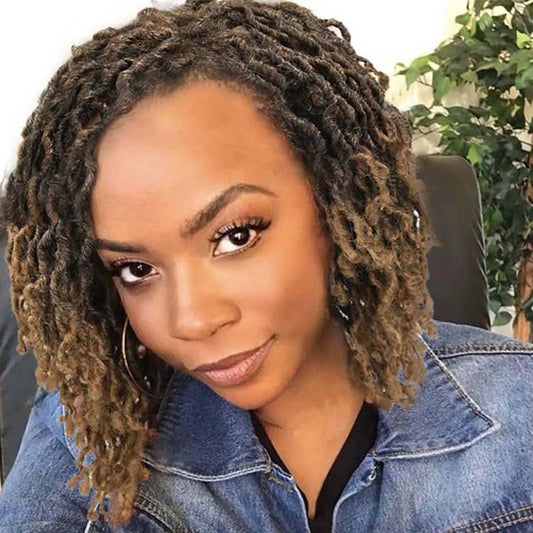
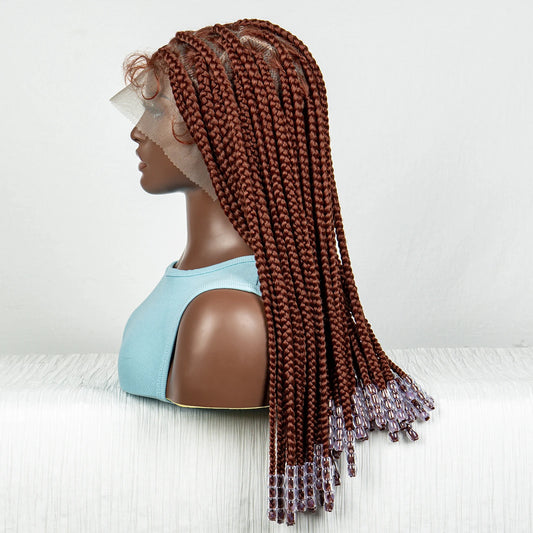
Short Goddess Faux Locs Wig | Brown Highlight Crochet Dreadlock Wig
Regular price From $158.00 USDRegular price$190.00 USDSale price From $158.00 USDSale -
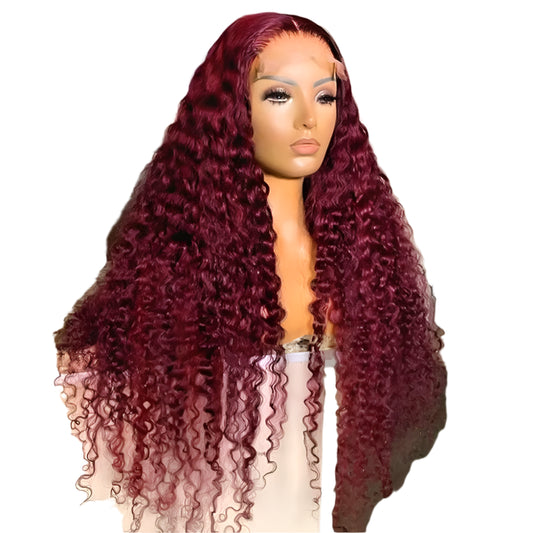
30 Inch Burgundy 99J Curly Human Hair Wig | 13x6 Lace Frontal | 200% Density
Regular price From $257.00 USDRegular price$0.00 USDSale price From $257.00 USD -
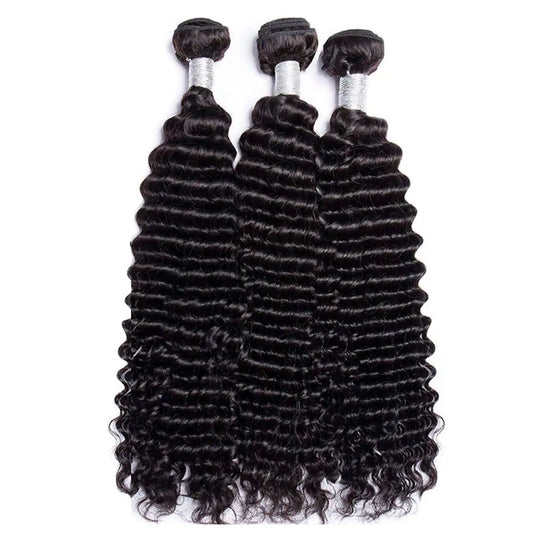
12A Deep Wave Remy Human Hair Bundles | 30 to 32 Inch Weft Extensions
Regular price $364.00 USDRegular price$0.00 USDSale price $364.00 USD -
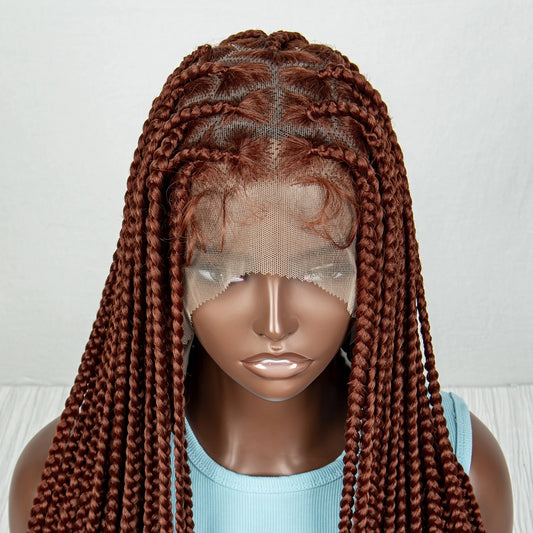
#350 Knotless Box Braids Wig | Short Lace Frontal Bob | Dark Ombre Ginger
Regular price $262.50 USDRegular price$0.00 USDSale price $262.50 USD -
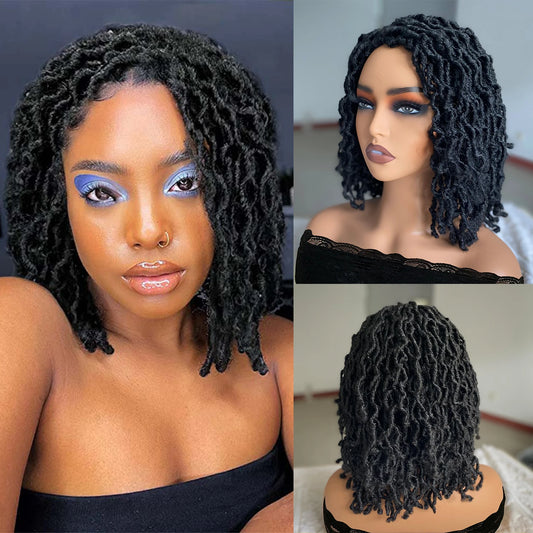
Short Afro Faux Dreads Wig | Synthetic Braided Wig for Men and Women
Regular price $90.00 USDRegular price$120.00 USDSale price $90.00 USDSale -
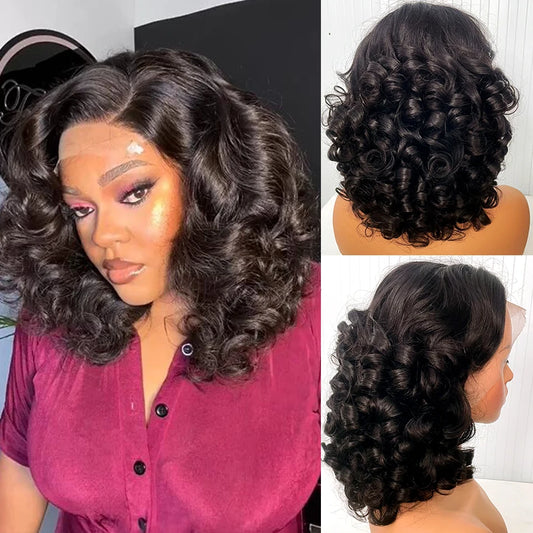
12A Raw Vietnamese Bouncy Wave Wig | 13x4 Lace Frontal | 250% Density
Regular price From $242.00 USDRegular price$0.00 USDSale price From $242.00 USD -
Men's Wingtip Derby Shoes | Genuine Leather Colour Block Lace-Ups
Regular price $263.00 USDRegular price$301.00 USDSale price $263.00 USDSale -
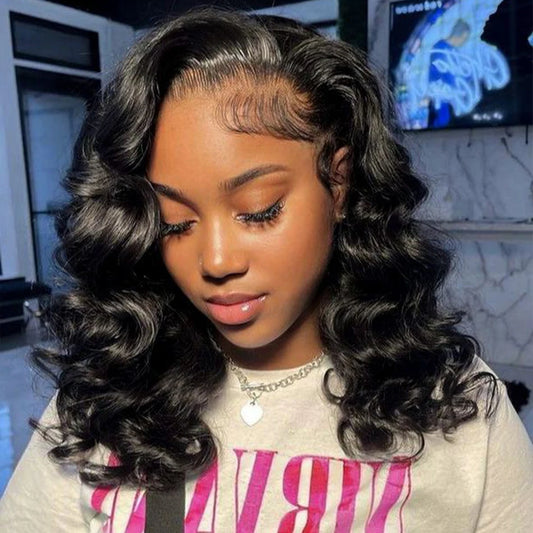
Brazilian Human Hair 13x4 Lace Front Wig | Glueless, Pre-Plucked with Baby Hair
Regular price From $99.00 USDRegular price$132.00 USDSale price From $99.00 USDSale





Care for the finished quick weave
A quick weave typically lasts two to four weeks, according to the Unice guide. A flip-over tutorial creator recommends wearing one for no more than two weeks and removed hers after one week. Wear time depends on fit, installation, adhesive, activity, comfort, and whether the protective cap has shifted.
Keep washing and drying gentle
You can wash a quick weave carefully. Use a mild shampoo and focus on the scalp rather than scrubbing or bunching the lengths. Rinse gently, pat the hair with a towel, then let it air-dry completely. Avoid heat right after washing, especially if the tracks or cap still feel damp.
Use a wide-tooth comb or your fingers to detangle from the ends upward. For human hair, apply heat sparingly and use a protectant when styling. Synthetic hair needs fiber-specific care, so follow its instructions. Gentle care also helps protect your natural hair while you wear the style.
Protect the style overnight
Sleep in a satin or silk bonnet to reduce friction and help the hair stay neat. Brush or finger-comb gently before bed, and avoid pulling at the tracks or closure. A bonnet can help the style stay neat, but it won't make it permanent.
For a broader look at quick weaves versus sew-ins, compare the installation, wear, and maintenance before choosing.
Protect your natural hair during wear and removal
A quick weave can cause problems if bonding glue reaches your natural hair, if the base is too tight, or if removal pulls on the hair. Incorrectly used bonding glue can dry out natural hair. Never pull bonded tracks off dry hair; use a remover made for the adhesive and work slowly.
Tension matters. Braids should lie flat without hurting, and the protective cap shouldn't pinch or create pressure. The American Academy of Dermatology explains that tight hairstyles can lead to traction hair loss, so avoid styles that pull on the hairline. If you feel pain, burning, or persistent itching, take the style down and seek professional advice if symptoms continue.
A quick weave isn't automatically healthier than a sew-in. A sew-in or quick weave can stress hair if installed too tightly or worn too long. Choose the style that can be installed and removed without tension, and give your scalp a break between styles as part of regular maintenance.
Key takeaways for choosing bundles
- Choose three bundles for most full heads under 18 inches, and four for 20 to 24 inches or longer.
- Add a bundle for extra volume or long styles, then match the texture to your leave-out or closure.
- Choose human hair for more heat-styling flexibility, and match the bundles to your planned quick weave style.
- Use a protective cap, seal it with layered protectant spray, and let it harden before cutting to protect your natural hair.
- Keep wear brief, wash gently, air-dry, and wear a bonnet at night.
Frequently asked questions
What are the best bundles for a quick weave?
The best bundles match your desired length, texture, density, and styling routine. For a full head, three bundles often suit lengths under 18 inches, while four are a better starting point for 20 to 24 inches or longer.
What country has the best human hair?
No country name guarantees the best quality. Hair behavior depends on the material, processing, construction, and care. Compare the stated fiber type, weft quality, texture, and product details instead of choosing by country alone.
How long does a quick weave last before it needs to come out?
A typical estimate is two to four weeks, but some stylists and tutorial creators recommend no more than two. Remove it sooner if the cap shifts, the adhesive loosens, or your scalp becomes uncomfortable.
Can you wash the style?
Yes. Use mild shampoo, focus on the scalp, pat the hair dry, and let it air-dry. Avoid heat immediately after washing, and don't scrub the tracks.
Does the style damage natural hair?
It can, especially if glue touches natural hair, the braids are too tight, or removal pulls on the strands. As with a sew-in, a protective cap, careful installation, and gentle removal reduce avoidable stress.
Choose bundles around the style you'll wear
For a quick weave, choose bundle quantity, texture, and length to suit your style and styling routine. Avoid unnecessary heat or tension, and keep the install and wear period gentle on your natural hair.