

How to Make a Natural Wig Part Look Real
Nothing exposes a wig faster than a part that looks too wide, too dark, or perfectly straight. A natural wig part should blend into the lace or closure without drawing attention to where the wig begins.
Fortunately, you can improve the part with a few careful adjustments. The right base, light plucking, scalp-toned makeup, and gentle styling can make a lace-front, closure, or human-hair wig look much more realistic. Start with the wig's construction, then work slowly through each step.
Start with the Right Parting Foundation
Before reaching for tweezers, inspect the wig while it's dry and secured on a mannequin head. A lace-front wig usually gives you more freedom because the lace extends across the front and may allow a center, side, or off-center part. A closure wig has a smaller lace area, such as a 4x4 or 5x5 closure, so your parting options are more limited.
Choose a position that suits the wig and your usual hairstyle. A center part looks balanced and polished, while a side part can create more volume on the opposite side. If you wear a closure wig, keep the part within the lace area. Pulling hair outside the lace can expose the weft or create an obvious line.
Check the following details before styling:
- The lace should sit flat against the mannequin head without bunching.
- Hair knots around the part should not look much darker than the surrounding hair.
- The part should follow a clean path without revealing tracks beneath it.
- The hair near the part should have enough density to cover the lace edges.
A pre-plucked wig may need only a small amount of customization. A dense, factory-made part may need more work. Still, makeup can't fully correct a part that has too much hair packed into it, so density comes first.
Secure the wig with T-pins or clips, but keep pins away from the section you'll tweeze. Use a rat-tail comb to create the line. A metal tail gives you more control, although a pointed plastic comb works well for beginners.
Pluck the Part Slowly and Evenly
Plucking removes a few hairs from the parting space so the hairline doesn't look like a thick row of planted fibers. The goal is a soft, irregular opening that gradually becomes denser as it moves away from the line.
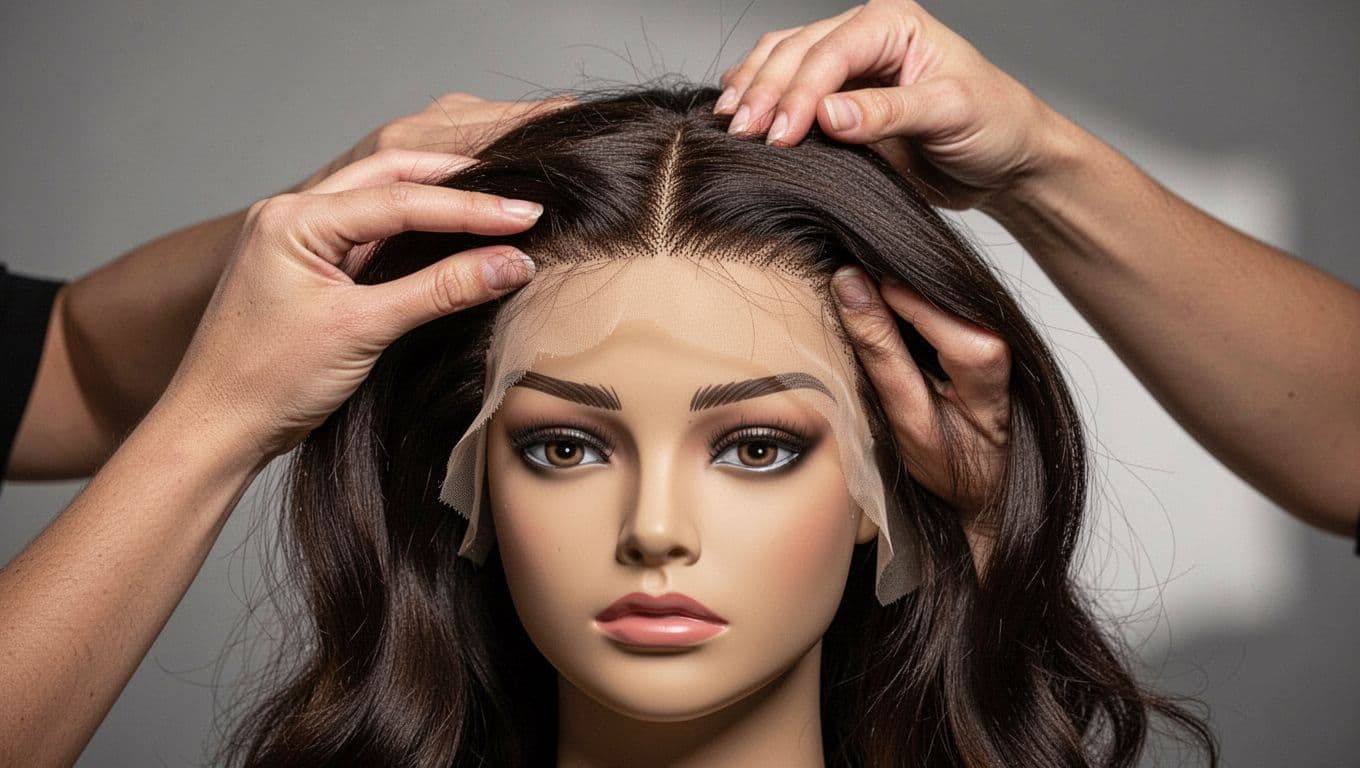
Use pointed tweezers, a rat-tail comb, and bright natural light. A small pair of hair-cutting scissors can help with stray long fibers, but avoid cutting into the lace. Human-hair wigs are usually easier to customize because you can restyle the hair afterward. Synthetic wigs require more caution, especially if the fibers aren't heat-safe.
Follow this gradual process:
- Part a narrow section and pluck only a few hairs at a time. Work on both sides of the line instead of removing hair from one large area.
- Comb the hair away from the part after every few passes. This shows how much lace is visible and prevents you from removing too much.
- Move a little farther out from the line as you work, leaving more density toward the sides.
- Stop, place the wig on your head or mannequin, and check it from several angles before continuing.
- Trim only obvious flyaways with small scissors. Keep the cut short and controlled.
Over-plucking is difficult to reverse. You can add fibers with professional repair techniques, but most beginners can't restore a visibly thin part at home. If the lace already shows through strongly, stop tweezing and use styling or powder to soften the contrast.
Avoid pulling hard on the lace. Stretching can distort the part and create a wider gap. Also, don't pluck repeatedly from the same spot. Move around the section so the density changes gradually rather than forming a bald patch.
If you're unsure, customize less than you think you need. Once the wig sits on your head, natural movement and surrounding hair often make the part appear more open than it did on the mannequin.
Match the Lace and Scalp Tone
A lace part can look unnatural even when the density is correct if its color doesn't match the skin around your part. Transparent lace may look pale, while a darker lace shade can create a visible stripe. Your scalp tone, undertone, lighting, and the wig's lace color all affect the result.
Test any product on a small hidden area first. For a light adjustment, use a loose or pressed face powder close to your scalp shade. A foundation that matches your forehead or part line can work too, but avoid choosing a shade based only on your hand, since hand skin often differs from facial skin.
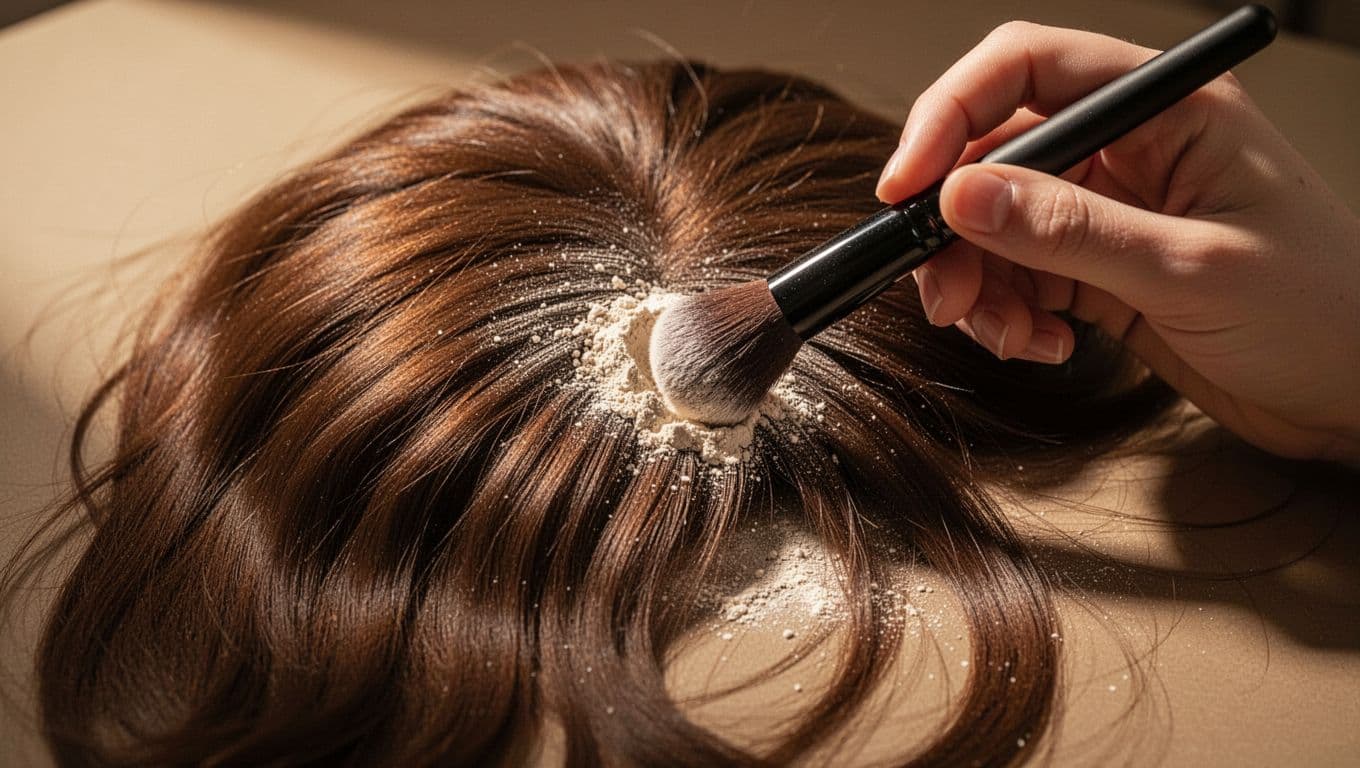
Use a small, clean brush or a disposable sponge. Apply a thin layer to the underside of the lace when possible, then add a tiny amount to the top if the lace still looks light. Tap instead of rubbing, because vigorous rubbing can shift the lace or push pigment into the hair.
Choose among these options based on the problem:
- Loose powder gives a soft finish and is easy to build in light layers.
- Pressed powder offers more coverage when the lace is noticeably pale.
- Liquid foundation creates stronger color but needs careful blending and drying.
- Lace tint spray can cover a larger area, although it requires masking the hair and using light coats.
A scalp-toned product should disappear into your skin rather than sit as a separate stripe. If the part looks orange, gray, or too yellow, remove some product and try a closer undertone. Neutral shades often work better than adding a much darker color.
Synthetic fibers can collect powder and appear dusty, especially around a wide part. Use less product and brush away excess with a clean, soft brush. Keep liquid makeup away from the hair until it dries completely. For a human-hair wig, a light mist of setting spray can help the powder stay in place, but don't saturate the lace.
Create the Look of Natural Scalp Showing Through
A real scalp doesn't usually appear as a perfectly uniform line. After tinting, soften the part with a small amount of matching powder along the outer edges. Keep the center slightly clearer if you want more scalp visibility, then blend outward until the color fades into the lace.
For a glueless wig, avoid heavy layers of makeup near the area that touches your skin. Sweat and movement can cause thick product to transfer. A thin layer gives a cleaner finish and is easier to refresh later.
Flatten the Hair Around the Part
Even a well-plucked part can look artificial when the hair rises straight up from it. Flatten the roots gently so the hair changes direction naturally.
For a human-hair wig, use a low or medium heat setting with heat protectant. A mini flat iron or hot comb can press the roots, but keep the tool moving and avoid holding heat on the lace. A fine-tooth comb can guide each side into place while the roots cool.
A synthetic wig needs a different approach. Check the care instructions before using heat. If the fibers aren't heat-safe, use clips, rollers, or a small amount of wig mousse to set the direction. Press the roots with your fingers or the flat side of a comb, then allow the hair to dry or cool in position.
A little styling product goes a long way. Lightweight mousse is useful for human hair and many synthetic styles, while a small amount of edge control can smooth short fibers near the front. Keep wax and heavy gels away from the part because buildup makes the lace look shiny.
The part should have slight movement rather than a ruler-straight appearance. Shift a few strands across the line, especially near the front, but don't cover the entire opening. A touch of volume beside the part can also reduce the flat, wig-like effect.
Shop Pelucas con frente de encaje
-
#350 Knotless Box Braids Wig | Short Lace Frontal Bob | Dark Ombre Ginger
Precio habitual $262.50 USDPrecio habitual$0.00 USDPrecio de oferta $262.50 USD -
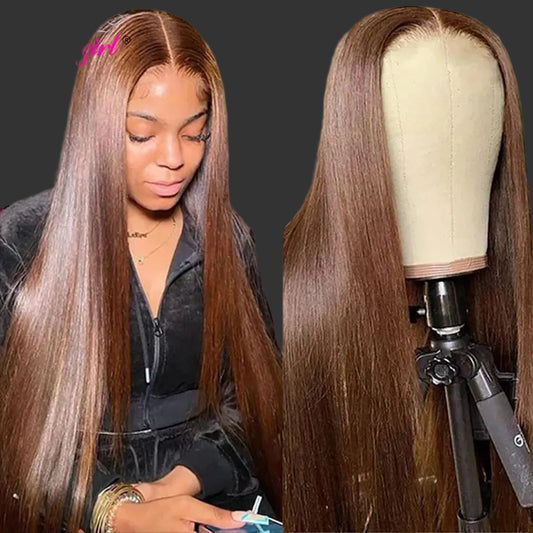
#4 Chestnut Brown Straight Lace Front Wig | 13x4 & 13x6 Transparent Swiss Lace Frontal Wig | 150% & 180% Density 100% Brazilian Remy Human Hair Long Closure Wig for Women (26+ Inch)
Precio habitual A partir de $364.00 USDPrecio habitual$0.00 USDPrecio de oferta A partir de $364.00 USD -
#4 Peluca Bob Recta Marrón Chocolate | Sofisticado frontal de encaje transparente HD con densidad del 200% | Elegante silueta "Bob Corto" | Cabello Humano Remy Brasileño "Digno" Pre-arrancado para un peinado radiante y versátil
Precio habitual $150.00 USDPrecio habitual$200.00 USDPrecio de oferta $150.00 USDOferta -
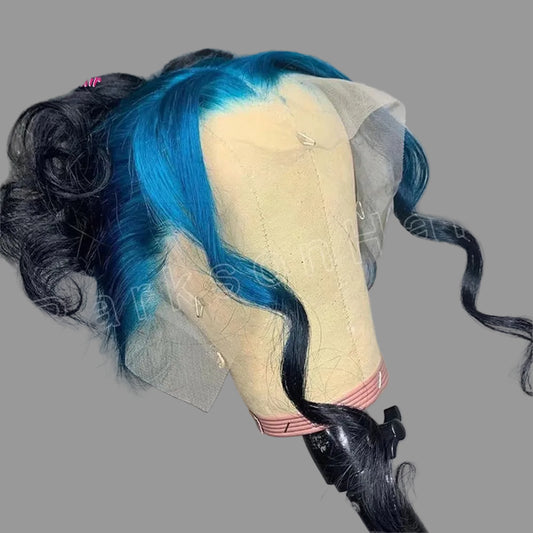
#4/613 Ombre Blonde Lace Front Wig | High-Impact Black with Blue Custom Tone Option | 13x4 HD Transparent Swiss Lace Frontal Body Wave Human Hair Wig for Women
Precio habitual $502.00 USDPrecio habitual$0.00 USDPrecio de oferta $502.00 USD -
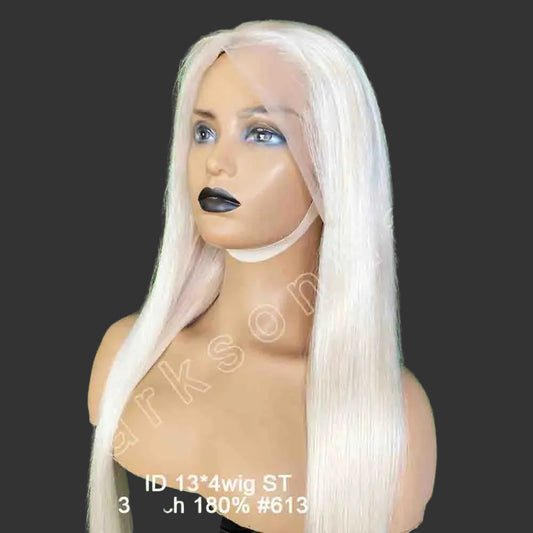
#60 613 Platinum Blonde Wear-and-Go Glueless Wig | 13x4 HD Transparent Lace Frontal Wig | 100% Brazilian Remy Human Hair Body Wave Long 26+ Inch Wig for Women
Precio habitual A partir de $249.00 USDPrecio habitual$0.00 USDPrecio de oferta A partir de $249.00 USD -
#60 Platinum Ash Blonde Lace Front Wig | 100% Brazilian Human Hair Glueless Wig | 13x4 & 13x6 HD Transparent Swiss Lace Frontal Body Wave Gown for Women
Precio habitual A partir de $249.00 USDPrecio habitual$0.00 USDPrecio de oferta A partir de $249.00 USD -
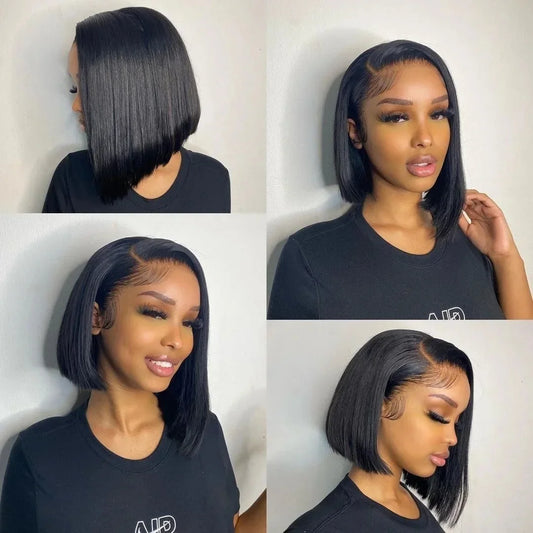
Peluca Bob Corta Lisa de 10-16 pulgadas | Cabello Humano Remy Brasileño | Frontal de Encaje 13x4 | Aspecto Natural | Lista para Usar
Precio habitual $72.51 USDPrecio habitual$120.85 USDPrecio de oferta $72.51 USDOferta -
Peluca Frontal de Encaje HD 100% Transparente | Silueta Sofisticada "Bone Straight" | Peluca de Cabello Humano con Encaje Frontal Completo HD de 13x6 Pre-Arrancado | Esencial Brasileño Remy de Alto Rendimiento "Digno" para un Estilismo Radiante y Versátil
Precio habitual A partir de $346.00 USDPrecio habitual$0.00 USDPrecio de oferta A partir de $346.00 USD








Keep the Part Natural Between Wears
Your part needs maintenance because powder, sweat, friction, and repeated handling can change its appearance. Before removing the wig, loosen the adhesive or straps according to the product instructions. Pulling from the part can stretch the lace and shift the customized opening.
Store the wig on a mannequin head or a smooth wig stand. Keep the part in its intended position with a few loose clips if necessary. Avoid storing it tightly folded, since creases can create uneven tension across the lace.
After each wear, inspect the part under natural light. Use a clean spoolie or soft brush to remove powder from nearby fibers. If the lace looks oily, blot it carefully with a clean tissue rather than adding more makeup.
Refresh the area only when needed:
- Add a small amount of powder if the lace has become lighter than your scalp.
- Use a damp cotton swab to lift excess foundation from the lace.
- Re-part the hair with a rat-tail comb after washing or detangling.
- Let the wig dry fully before applying fresh powder or storing it.
Wash human-hair wigs with products made for wigs or color-treated hair, and follow the manufacturer's instructions for synthetic fibers. Too much shampooing, rough brushing, or aggressive detangling can loosen hairs around the part.
If the lace begins to fray or the part becomes noticeably thin, stop customizing it at home. A wig professional can repair, ventilate, tint, or reshape the area with better control.
Fix Common Parting Problems
A part that looks too wide often needs styling, not more plucking. Brush a small amount of hair back over the opening, then add matching powder only to the lace that remains visible. If the part looks too narrow, pluck one or two hairs from each side and reassess before removing more.
When the lace looks shiny, reduce foundation and powder. Shine usually becomes more visible under flash photography, bright bathroom lights, or direct sunlight. A tiny amount of translucent powder can reduce surface shine, but check that it doesn't make the lace look pale.
If knots look dark, a professional knot-bleaching service may help, particularly on human-hair lace wigs. At-home bleaching can weaken the lace and cause shedding when the mixture sits too long. Powder and tint can soften the appearance, but they won't change very dark knots as much as proper bleaching.
A part that looks crooked may come from the wig cap, not the lace. Adjust the straps, combs, or adhesive so the wig sits evenly before changing the part. Once the cap is secure, make the line with the comb and style both sides in the same direction.
Conclusion
A natural wig part comes from several small details working together: controlled density, a close scalp-tone match, flat roots, and careful storage. Pluck gradually, use light layers of product, and check the wig on your head before making another change.
When the part looks slightly imperfect and the lace blends with your skin, the wig usually looks more convincing. Take your time, because preserving a little extra hair is easier than repairing an over-plucked part.