

Clip-In Extension Placement for Even, Natural Volume
If your extensions look full at the ends but flat around your face, placement may be the missing piece. Good clip-in extension placement spreads fullness across your head while keeping attachment points hidden.
You don't need to wear every weft to get balanced volume, and clips should feel secure without pulling. Start with a placement plan that suits your hair's density, then build the shape gradually.
Key Takeaways
- Fit each weft to the section rather than stretching it across an area that's too narrow.
- Distribute fullness across the back and sides while leaving enough natural hair to cover the clips.
- Check the finished shape with your hair down, and reposition any clip that pulls or feels uncomfortable.
Choose Extensions That Blend With Your Hair
Match texture and visible color
Compare extensions with your hair's mid-lengths and ends in natural light. These are the areas that sit beside the added hair, so matching them helps the blend look consistent.
Texture matters as much as color. Straight extensions can stand out against defined curls, even when the shade is close. Luxegan's kinky curly human hair clip-ins, for example, are described as mimicking 3C-4A curls.
For volume alone, choose a length close to your existing hair. A large length difference creates another blending challenge.
Plan where you need fullness
Look at your hair down before separating it. Notice whether the sparse areas are through the back, beside your face, or near the ends.
Then arrange the wefts by width. Wider pieces generally suit the broader back sections, while narrow pieces offer more control at the sides.
Hair density also affects how much you can hide. With fine hair, begin with fewer pieces and check coverage before adding more. Leave any unnecessary wefts out.
Step 1: Prepare and Section Your Hair
Start with dry, gently detangled hair. Set out your extensions, a tail comb, sectioning clips, and a second mirror for checking the back.
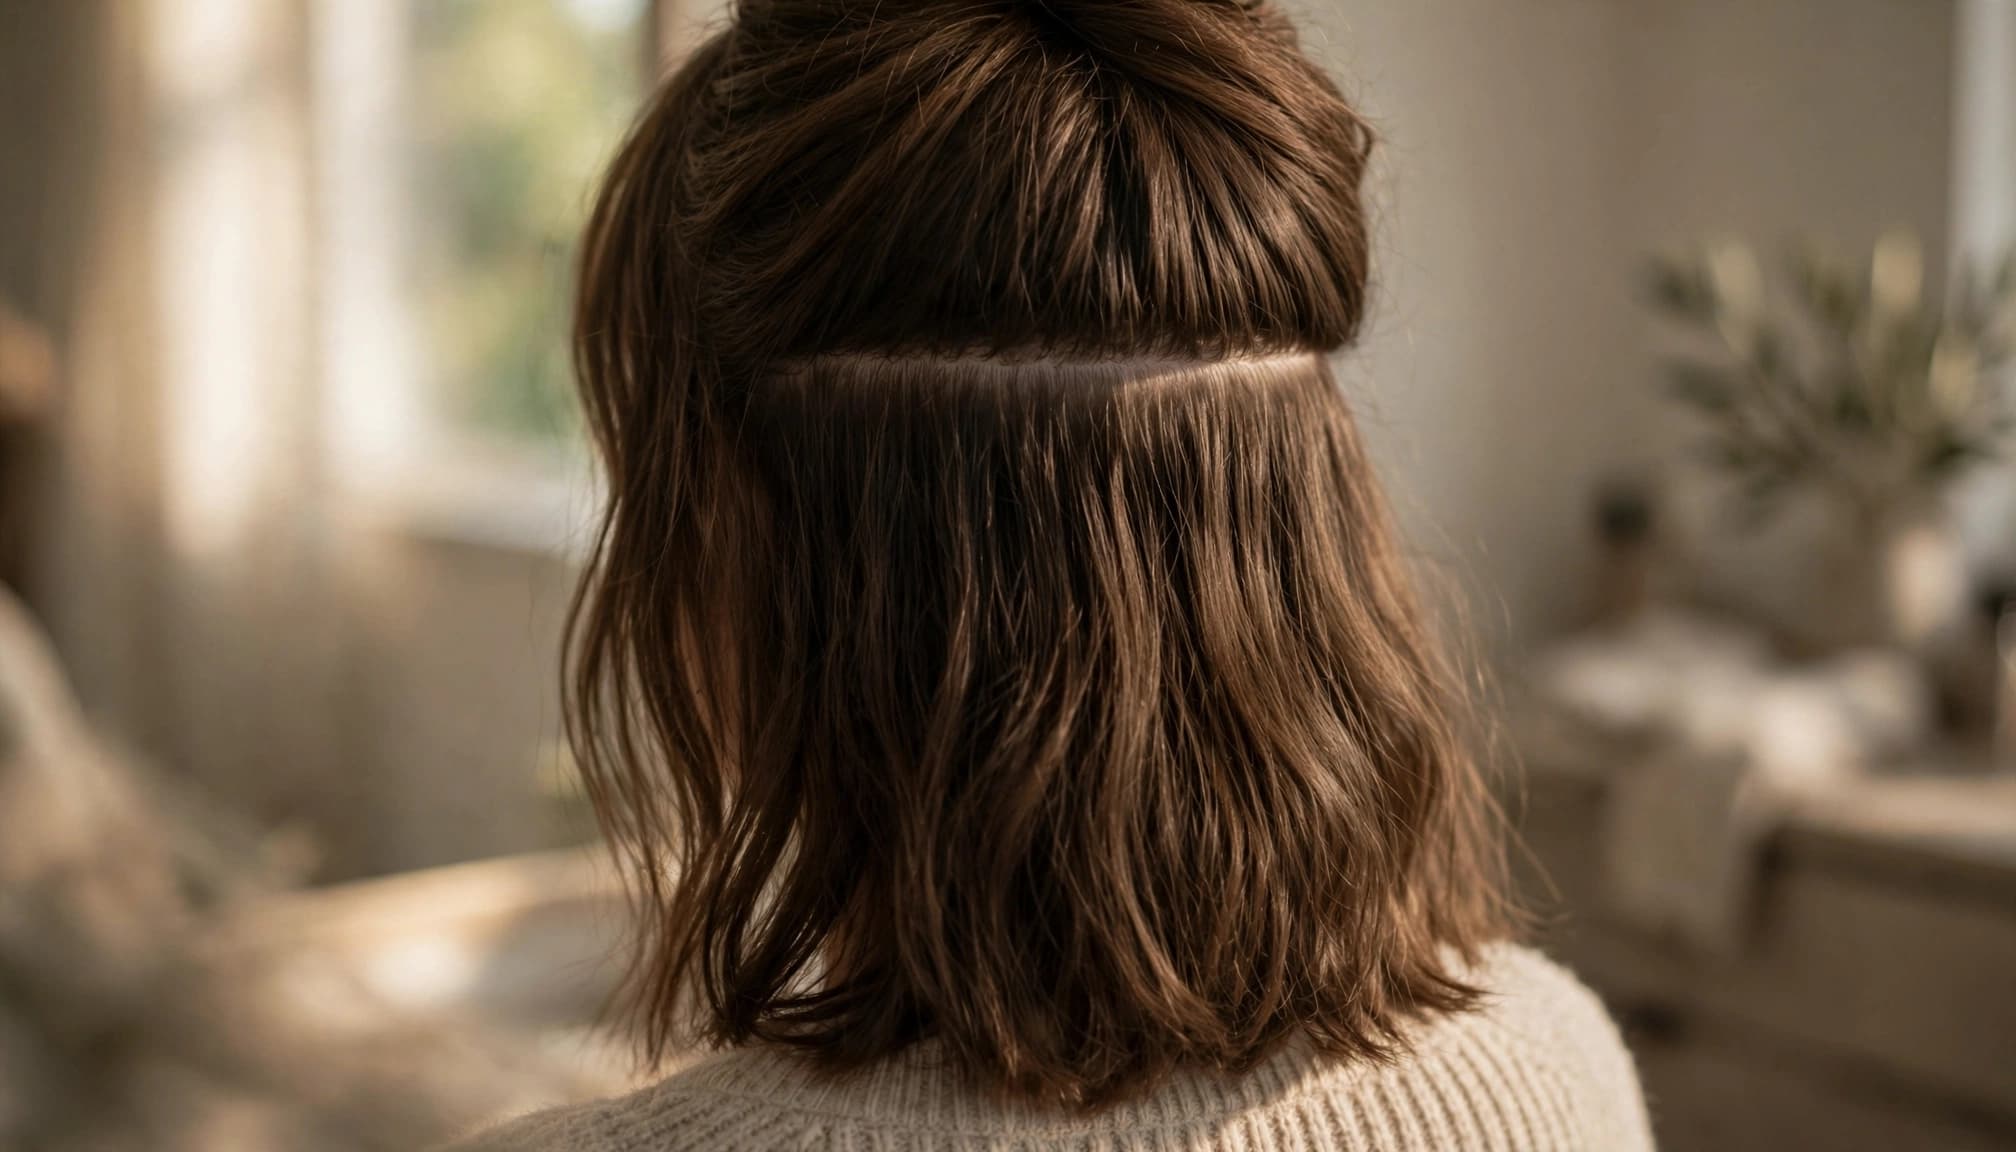
Create your usual part first. Changing it after installation can expose clips that were hidden during placement.
Next, separate a horizontal section across the lower back of your head and secure the upper hair out of the way. Leave natural hair below the section.
The Hair Extension Company's installation guide starts a few inches above the nape. Your starting position should also account for hair coverage and whether the weft fits comfortably.
Keep loose strands away from the attachment area. A clean section makes it easier to close each clip without catching hair from the section above.
Step 2: Start Clip-In Extension Placement at the Back
Attach the lower weft without stretching it
Hold a weft against your section before opening the clips. Its ends should sit within the available hair rather than wrap around toward exposed areas behind your ears.
Use a narrower piece if the band is too wide. Perfect Locks' installation guides also emphasize matching the section width to the weft.
If your weft has a center clip, attach that first, then work outward. Let each clip catch a flat section of natural hair near the roots.
Keep the band relaxed against your head. Don't stretch it tightly between clips or scrape the clip teeth against your scalp.
Build fullness through the middle back
Release some natural hair over the installed weft, then create another horizontal section above it. This hair between attachments helps separate the bands and cover their edges.
Choose a wider weft where your head provides enough space. Center it across the back so the added hair falls evenly on both sides.
After attaching it, lower your hair and inspect the shape. Add another piece only if the middle still needs fullness and you have enough coverage.
Avoid stacking bands directly on top of one another. The resulting bulk can make attachment points easier to see and harder to disguise.
Step 3: Balance the Sides and Protect Your Cover Layer
Fill the sides with narrower pieces
Once the back looks balanced, assess the hair beside your face. Narrow side wefts can connect the back volume with your natural front sections.
Create a section beneath the visible surface hair, keeping it away from your hairline and part. Position the piece where its band stays covered when you tuck your hair behind your ear.
Start with similar placement on both sides, then compare the result. Because natural density can differ, matching the finished fullness matters more than copying every position exactly.
Keep the crown free of unnecessary bulk
The uppermost hair is your cover layer. Leave enough of it untouched to conceal the attachment points when you move.
Avoid placing wefts close to your part or in a sparse crown area. Those locations offer less camouflage.
Before adding a high weft, lower the cover hair and check it in bright light. If you can see the band through the surface, move the piece lower or leave it out.
Shop Clip Hair
-
 Esaurito
Balmain, Balmain, Hair Clip, Black
Prezzo di listino $142.05 USDPrezzo di listino -
Balmain, Balmain, Hair Clip, Silver/Gold
Prezzo di listino $487.56 USDPrezzo di listino -
Balmain, Printemps Floral, Hair Clip, White
Prezzo di listino $488.95 USDPrezzo di listino -
 Esaurito
Balmain, Legacy, Hair Clip, White
Prezzo di listino $535.72 USDPrezzo di listino -
 Esaurito
Balmain, Printemps, Hair Clip, White
Prezzo di listino $428.58 USDPrezzo di listino


Step 4: Blend the Extensions With Your Natural Hair
Bring straight or wavy lengths together
Once all your hair is down, gently combine the natural lengths and extensions. Support the hair near the attachments while detangling, and work upward from the ends.

For waves, style small sections containing both your hair and extension hair. A shared wave pattern helps soften the point where shorter natural ends meet longer extensions.
Check the manufacturer's heat instructions first, especially with synthetic hair. Use only approved temperatures and tools.
If your haircut has a blunt edge, a stylist can trim the extensions to suit it.
Blend curls without flattening their shape
With curly hair, compare the curl size, definition, and fullness of both textures. Use the extensions' care instructions to guide refreshing or styling.
Separate curls gently with your fingers rather than brushing through a finished style. Then arrange natural curls over the weft edges without pulling them taut.
Also check the silhouette near your shoulders. If the extensions look much fuller below your natural ends, reduce the added hair or choose a closer length match.
Troubleshoot Visible Wefts and Uneven Volume
When clips or bands show through
Visible wefts usually need better coverage, a better-fitting position, or less bulk.
Lower the piece if it's close to the part or crown. If an outer clip shows beside your face, move the weft inward or choose a narrower piece.
Then release your hair and check again. Don't rely on flattening the surface with heavy product to hide an attachment that sits too high.
A weft that disappears while you stand still may show when you turn your head. Check coverage with natural movement.
Look from behind as well, because a smooth front view can hide an exposed back band.
When one side looks fuller or clips slip
Compare your hair from the front, back, and both profiles. First, check that each back weft sits centrally and that hair hasn't gathered on one side.
Next, adjust the side pieces individually. If one area looks bulky, remove or reposition hair there before adding more elsewhere.
For slipping clips, reopen them and check that they've caught natural hair evenly. Don't compensate by tightening the band or adding heavier pieces.
Repeated pulling can cause traction alopecia, according to the AAD's guidance on tight hairstyles. Comfort takes priority over keeping a slipping weft in place.
Check Comfort Before You Leave
Move your head, look down, and turn to either side. Clips should stay secure without pinching, aching, or pulling when your hair shifts.
If an attachment hurts, open it and reposition it. Check for trapped strands, a stretched band, or a weft that's too heavy for that area.
Pain isn't a normal fitting stage. Don't wait for your scalp to adjust to a painful clip.
The American Academy of Dermatology's advice on preventing extension damage warns that repeated pulling can cause hair loss, sometimes permanently.
Remove clip-ins before sleeping. Open each clip fully before sliding it out, and support your natural hair rather than tugging on the weft.
If you notice persistent tenderness, breakage, or thinning around attachment areas, stop wearing extensions and consult a dermatologist.
Frequently Asked Questions
Do I need to use every weft in the set?
No. Use only the pieces that create the fullness you want while remaining covered and comfortable. Your hair density and the width of each weft determine what fits.
Start with the back, assess the sides, and stop when the shape looks balanced. Extra pieces can add weight and bulk without improving the finish.
Can I use the same placement for a ponytail?
Loose-hair placement doesn't automatically suit a ponytail. Pulling hair upward changes how it covers the bands, especially near the nape and sides.
Check every attachment with the ponytail formed. If clips become exposed or pull, reposition them or wear the hair down. Don't tighten the ponytail to force uncomfortable wefts into place.
Make Balanced Volume Your Final Check
Natural-looking clip-in extension placement depends on fitting the wefts to your hair and leaving enough coverage above them. A few well-positioned pieces can give you the fullness you want without unnecessary bulk.
Check the finished shape in motion, then correct exposed bands or uneven sides. Comfortable, even placement should guide the final result, rather than using every piece in the set.