

How to Apply Clip-In Hair Extensions at Home
A fuller style can take shape at home without glue or a salon appointment, but the clips need to sit comfortably and stay hidden. Applying clip-in hair extensions is easier when you work in small sections, choose placement for your own haircut, and check the hold as you go.
A natural result depends on more than matching color. Texture, weft position, and gentle handling all matter, so start with a simple setup and build the style gradually.
Key Takeaways
- Brush and arrange the wefts before you start, then keep them in order.
- Create clean horizontal parts and leave enough natural hair over each row to hide the clips.
- Place clips in sections with enough hair to hold them, and avoid pulling at the scalp.
- Blend the extensions with your hair before deciding whether you need to adjust placement.
- Open every clip before removal, then release it gently instead of pulling the weft down.
Prepare Your Extensions and Tools
Set aside a tail comb, sectioning clips, a soft brush, and a mirror that lets you see the back of your head. A second mirror can help you check the rear view, but you can also use your phone camera. Lay the wefts out in the order you plan to apply them so you can quickly identify the wider and narrower pieces.
Brush the extensions gently before installing them. Hold each weft near its top while detangling, and work from the ends upward to avoid tugging on the hair attached to the clip. If you need more care guidance, Barely Xtensions recommends detangling before washing and mentions using a wide-tooth comb or loop brush in its clip-in extension care advice.
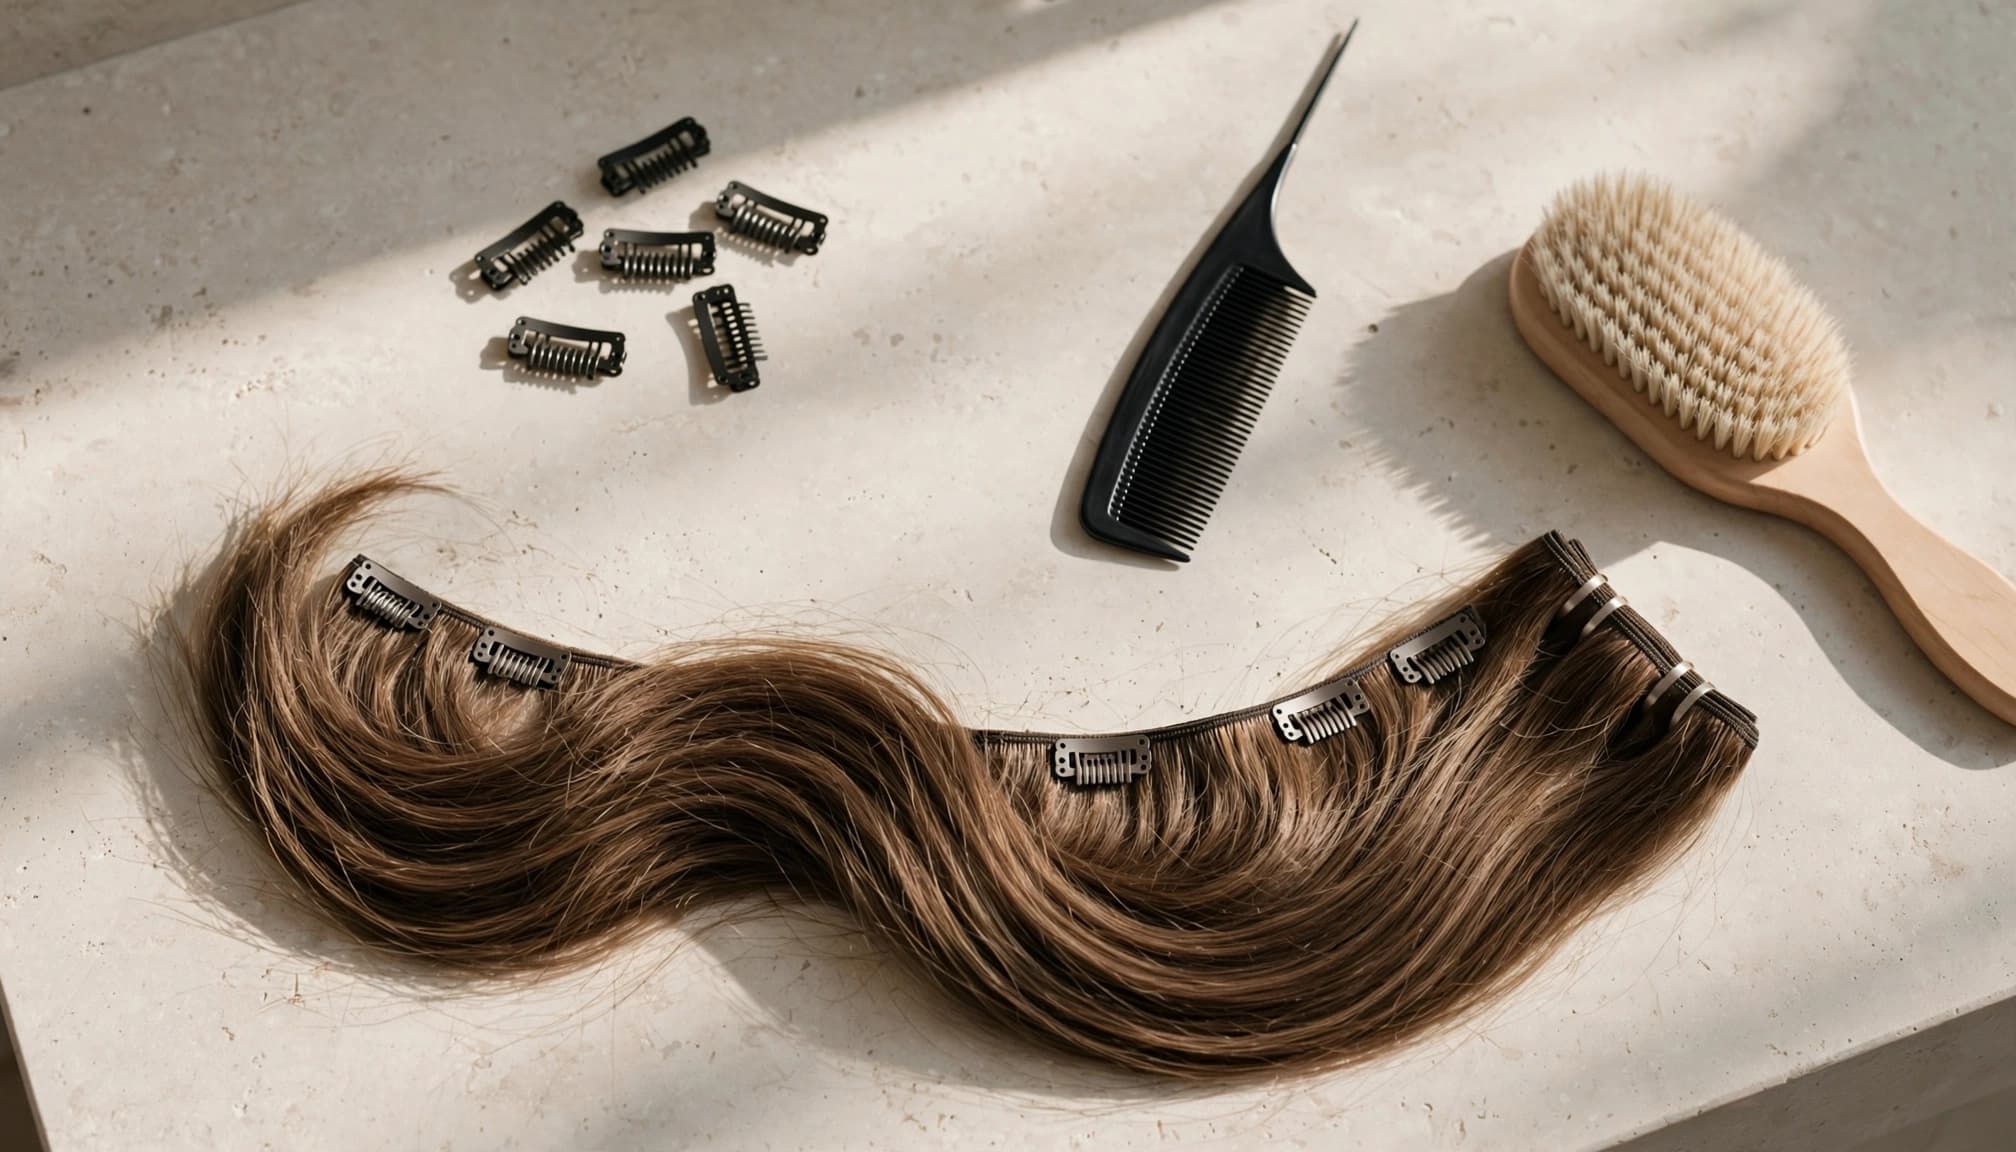
Before you begin, check the clips for tangles or damage and confirm that the hair color and texture work with your own. For example, Luxegan's kinky curly clip-in human hair extensions are 100% virgin human hair with a 3C–4A texture. They're standard clip-ins rather than seamless wefts, so leave enough natural hair above them to cover the clips.
Section Your Hair for Secure Placement
Work from the lower back of your head upward. This gives each new row a layer of natural hair to fall over, which helps conceal the clips. Keep the sections neat, but don't make a part so high that the weft shows when you move or lift your hair.
Create a clean part
Use the tail of a comb to make a horizontal part across the back of your head, starting around the area behind one ear and moving to the other. Clip the hair above the part out of the way. The first weft usually sits low at the back, but keep it above the point where your hairline begins to curve upward toward the nape.
The weft should fit within the exposed section without extending past the natural hairline or sitting over the ears. If it's too wide, choose a smaller piece rather than forcing the ends into thin hair.
Plan the next rows
Release another layer of hair as you move higher, then make a new part above the previous row. Place each weft where your own hair can cover its top edge. For the sides, use narrower pieces and keep them away from the temples and hairline, where hair is often finer and the clips may be more visible.
There's no need to use every piece in a set. Choose only the sections that add the length or fullness you want. A comfortable, even result is more important than filling every part of your head.
Attach Each Weft Without Pulling
Open all the clips on a weft before bringing it to your head. Position it along the part, close to the roots but not pressed against or scraping the scalp. Then work across the piece, fastening the clips into the sectioned hair.
Secure the clips one at a time
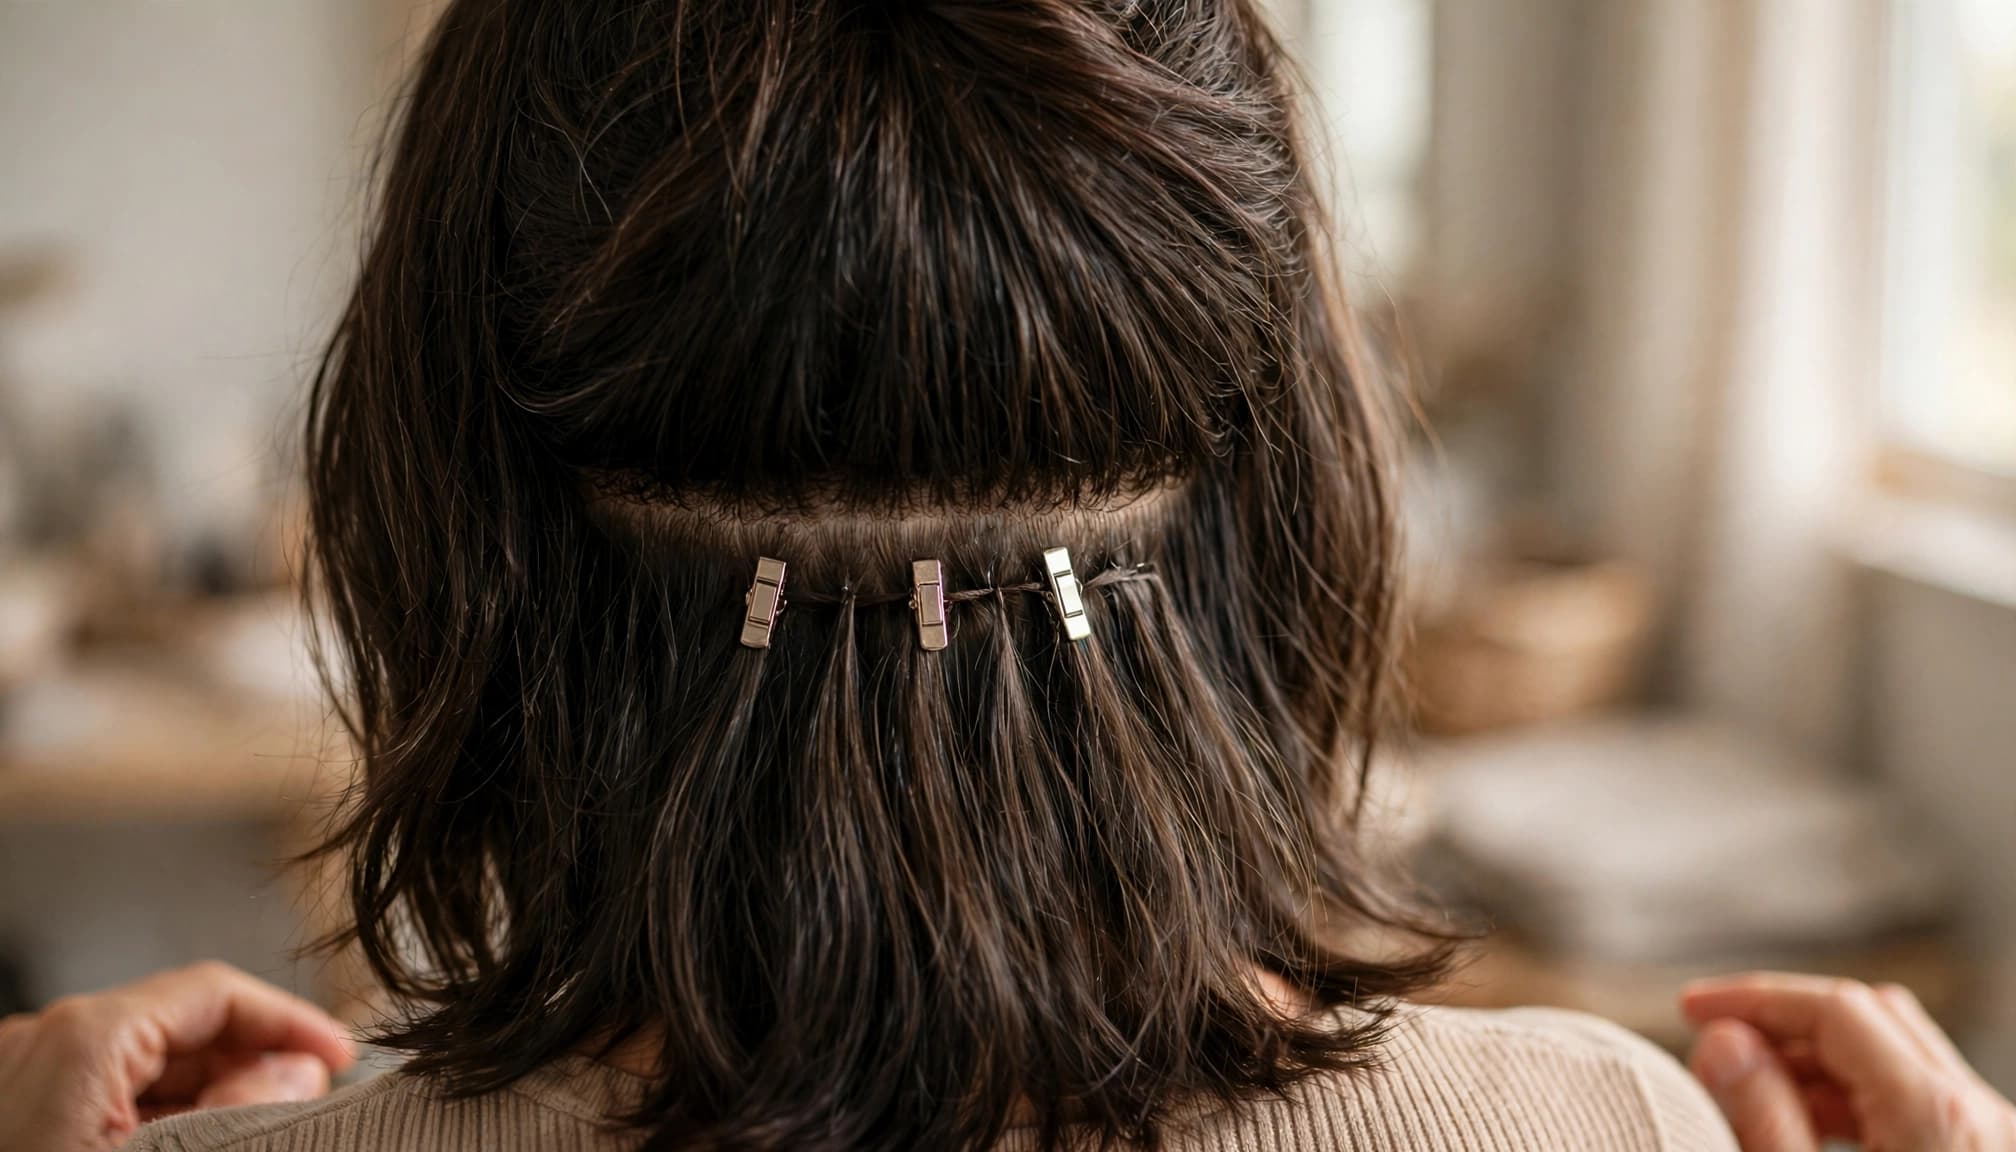
Start with a clip near the center of the weft. Slide its teeth into the hair at the roots, then snap it closed. Fasten the other clips in the same way, keeping the weft level and the section smooth beneath it. If the piece shifts or feels uneven, open the clips and reposition it rather than tightening your grip on the hair.
The clip should hold the extension without creating a sharp pulling sensation. If your scalp feels sore, itchy, or tight, remove the weft and try a different placement or a smaller piece. A tight hold isn't a sign that the extension is installed correctly.
Work upward and check the cover
After fastening a row, release the layer of hair above it. Check that the clips are hidden before creating the next part. If you can see the weft when your hair falls naturally, lower it or cover it with more hair instead of adding another extension on top.
For a step-by-step overview of the general process, Harper Ellis Hair describes how to section, clip, and blend extensions. Use that as a starting point, then adjust the exact placement to suit your hair and the shape of each weft.
Blend the Extensions With Your Hair
Once the wefts are attached, release all the clipped-up hair and let it fall over them. Look at the result from the front, sides, and back. A mirror check can reveal a visible clip or a sudden change in length that's hard to spot from one angle.
Brush the natural hair and extensions together gently, supporting the hair near the roots as you work. If your hair is wavy or curly, blend with your hands or a suitable brush so the texture remains consistent. For straight hair, a soft brush can help smooth the transition between the lengths.
A visible seam often means the weft sits too high, too close to the hairline, or beneath too little natural hair. Reposition it instead of teasing the surrounding hair aggressively. When using heat, follow the care instructions for the specific extensions. Human-hair pieces can be styled differently from synthetic ones, and product guidance should take precedence over assumptions.

Shop Clip Hair
-
 Esaurito
Balmain, Balmain, Hair Clip, Black
Prezzo di listino $142.05 USDPrezzo di listino -
Balmain, Balmain, Hair Clip, Silver/Gold
Prezzo di listino $487.56 USDPrezzo di listino -
Balmain, Printemps Floral, Hair Clip, White
Prezzo di listino $488.95 USDPrezzo di listino -
 Esaurito
Balmain, Legacy, Hair Clip, White
Prezzo di listino $535.72 USDPrezzo di listino -
 Esaurito
Balmain, Printemps, Hair Clip, White
Prezzo di listino $428.58 USDPrezzo di listino


Avoid Tension and Visible Clips
Comfort and coverage are good checks throughout the application. Clip-ins shouldn't pinch, pull, or make your scalp feel tender. If a clip catches only a few strands, release it and choose a section with enough hair to hold it securely.
Choose placement to suit your hair
Keep the wefts away from delicate edges, sparse areas, and parts that may show when you style your hair. If you have a short haircut or layers, position extensions where the shortest pieces can still cover their top edges. You may need fewer wefts or a different arrangement to prevent abrupt length changes.
Hair texture matters as much as color. Straight extensions may stand out against tight curls, while a close curl pattern can blend more naturally. Compare the texture in daylight, and make any placement adjustments before styling.
Pause if the fit feels uncomfortable
Don't pull the hair taut to make a weft lie flat. Instead, open the clips, smooth the section, and try again with less tension. Avoid repeatedly fastening a clip in the same small area, since that can leave the hair uncomfortable and make the clip less secure.
If the clips keep slipping, check that they're attached to a substantial section rather than loose strands. You can also remove that piece and reassess where it belongs. A comfortable arrangement may use fewer extensions than the full set.
Remove Clip-Ins Gently and Care for Them
Take the extensions out before sleeping, showering, or washing your hair. Starting at the top of your head can make it easier to reach each weft without pulling on the rows underneath.
Release clips before moving the weft
Find each clip with your fingers and open it fully. Support the weft with one hand while you release the clips with the other, then lift the piece away from your hair. If it catches, stop and free the snag gently. Never tug the extension downward while a clip is still closed.
After removal, detangle each piece from the ends upward. Store the extensions in a clean, dry place where the wefts won't become crushed or tangled. Keeping them arranged by size makes the next application easier.
Wash only when needed
Follow the care directions supplied with your extensions. When washing is appropriate, detangle first and handle each weft gently. Luxy Hair outlines a routine that includes brushing, shampooing each weft, conditioning, and applying a deep conditioner or hair mask in its guide to washing hair extensions.
Let the pieces dry and store them according to their care instructions before the next wear. Also check clips and stitching periodically. If a clip feels loose or a weft is damaged, avoid relying on it until it's repaired or replaced.
Frequently Asked Questions
How many wefts should I use?
Use the number needed to reach your preferred fullness while keeping the result comfortable and covered. Start with a few well-placed pieces, then check the overall shape. More hair isn't always better if the clips show or the added weight pulls on small sections.
Can I apply extensions without help?
Yes. Start with the back section and use a second mirror or phone camera to check placement. If you can't see whether the clips are covered, ask someone you trust to check the back before styling.
Why do the clips feel tight?
They may be attached too close to the scalp, fastened into too little hair, or pulling the section at an angle. Open the clips and reposition the weft. If discomfort remains, remove it rather than wearing it through the soreness.
How do I keep extensions from showing?
Leave enough natural hair above each weft to cover the clip and top edge. Check the result from several angles, especially around the sides and back. If a piece remains visible, move it lower or choose a narrower weft.
A Natural Finish Starts With a Comfortable Fit
The most reliable at-home application comes from neat sections, careful clip placement, and a final blend check. Start with fewer pieces, then add only what your hair can cover comfortably.
When a weft pulls, pinches, or shows through, reposition it before styling. A natural look should feel as easy as it appears.