

Clip-In vs Tape-In Extensions: A Beginner's Guide
Choosing between clip-in tape-in extensions can feel confusing when both options promise fuller, longer hair. The main difference is simple: clip-ins attach with small clips for temporary wear, while tape-ins use adhesive tabs that stay attached to sections of your natural hair.
Your best choice depends on your hair texture, density, styling habits, budget, and comfort with installation. Product quality and application technique matter just as much as the extension type, so start with the method you can use carefully and consistently.
Key Takeaways
- Clip-in extensions attach with clips and suit temporary styling or beginners who want to install and remove extensions themselves.
- Tape-in extensions use adhesive tabs and can create a flatter look, but they require more planning during application and removal.
- Match the extension texture to your natural hair. A mismatch can make even high-quality hair look obvious.
- Neither method is automatically risk-free. Excessive weight, tight placement, or repeated pulling can stress natural hair.
- Choose lightweight pieces for fine or fragile hair, and consult a professional if you have thinning, scalp discomfort, or previous hair loss.
Clip-In Tape-In Extensions: The Core Difference
The attachment method affects how you apply, style, remove, and care for your extensions. It also affects how much control you have over when the added hair stays in place.
How clip-ins attach
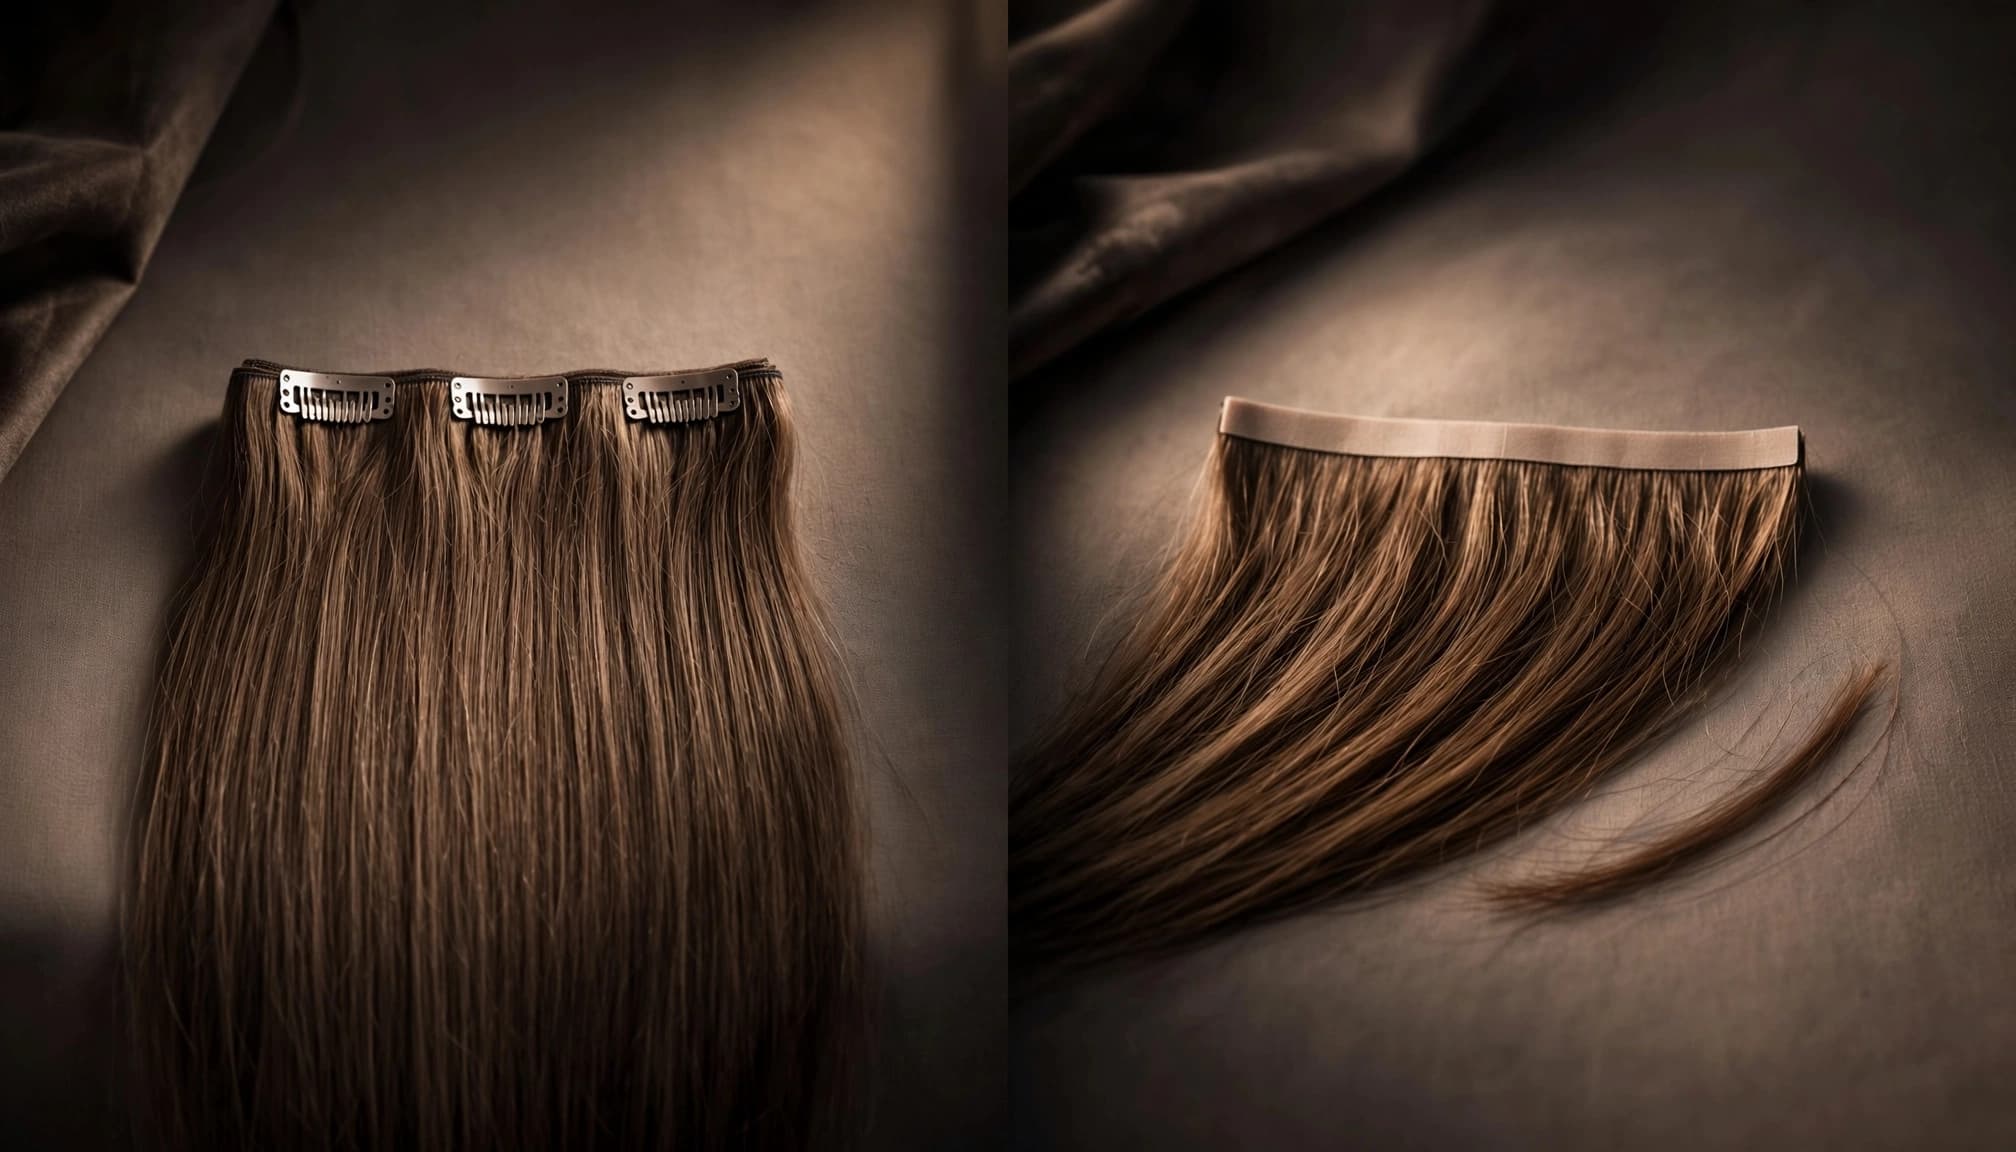
Clip-in extensions come as wefts, or strips of hair, with small clips sewn along the top. You create a part, place the weft close to the roots, and close the clips around your natural hair. Smaller pieces can add volume around the sides, while wider pieces usually add length and fullness through the back.
Because you can take them out, clip-ins work well for occasional styling, events, photos, or trying extensions before choosing a more permanent-feeling option. However, correct placement still matters. A weft that feels too tight, heavy, or uncomfortable should be repositioned or removed.
How tape-ins attach
Tape-in extensions use flat adhesive tabs. A thin section of natural hair sits between two extension tabs, creating what sellers often call a "sandwich." The listed Luxegan tape-in product includes 40 pieces, which form 20 sandwiches.
Tape-ins remain attached until you remove them with the correct product and method. That makes the initial placement important. The tabs need to sit close enough to the roots for a neat result, but they shouldn't pull, pinch, or attach to too much hair.
The extension hair, adhesive quality, and application technique all affect the final appearance. A professional can also help you decide how much hair your natural strands can support.
Clip-In Extensions for Beginners
Clip-ins are often the most straightforward introduction because the attachment is visible and easy to understand. Still, simple does not mean every set will blend equally well.
What you get with clip-ins
The product details matter more than the label alone. For example, Luxegan's kinky curly clip-in extensions are made from 100% virgin human hair, have a kinky curly texture, and come in a natural black shade. The listed set is 20 inches and weighs 160 grams.
That product is described as a standard clip-in rather than a seamless clip-in. It is intended to mimic tight 3C to 4A curls, but those texture references apply to that product, not every curly extension set.
Before buying, compare the extension's curl pattern, color, length, and weight with your own hair. Human hair generally gives you more styling flexibility than synthetic hair, but it still needs suitable care and a realistic match.
When clip-ins make sense
Clip-ins suit beginners who want control over when they wear extensions. You can test a new length, add volume to a ponytail, or create a fuller curly style without committing to adhesive placement.
They also work well when you prefer to change your look often. One day, you might wear your natural hair alone. Another day, you can add matching pieces for extra fullness.
Start with a small amount of hair if you're unsure. A lighter set is easier to position and may blend better than a very dense set that overwhelms your natural hair. For a natural finish, hide the clips under a layer of your own hair and avoid placing them directly on fragile edges.

Tape-In Extensions for Beginners
Tape-ins can look discreet when the tabs are flat, well placed, and matched to the hair around them. The process demands more preparation because the extensions stay attached after installation.
What you get with tape-ins
Luxegan's Afro kinky curly tape-in extensions are listed as 100% virgin human hair with an Afro kinky curly texture for 4A to 4B curls. The set contains 40 pieces, equal to 20 sandwiches, with flat, flexible tape tabs.
Those specifications can help shoppers with tightly coiled hair narrow their search, but texture matching remains personal. Two people with the same curl category may have different density, shrinkage, color, and styling preferences.
Check whether the product's natural color, texture, and length suit your hair before purchasing. If your hair is fine, short, damaged, or uneven in density, ask a stylist whether the proposed amount of hair is appropriate.
What beginners should confirm
Read the application and removal instructions before opening the package. Confirm which adhesive remover the manufacturer recommends, how the tabs should be positioned, and whether the product needs professional installation.
Avoid placing tape directly on the scalp. The tabs should attach to hair, not skin, and they should not pull at the hairline. If you feel burning, sharp pulling, persistent itching, or significant discomfort, seek professional advice instead of trying to ignore the symptoms.
Tape-ins may suit someone who wants a consistent style and is comfortable planning maintenance. They are less suitable if you want to remove your extensions after each occasion or change your placement frequently.
Clip-In vs Tape-In Extensions Side by Side
This quick comparison can help you identify which method fits your routine.
| Feature | Clip-in extensions | Tape-in extensions |
|---|---|---|
| Attachment | Small clips sewn onto wefts | Adhesive tabs around sections of hair |
| Wear pattern | Put in and remove as needed | Remain attached after application |
| Beginner control | High, because placement is adjustable | More limited once adhesive is applied |
| Main preparation | Sectioning, placement, and blending | Sectioning, alignment, and correct adhesive placement |
| Best starting point | Temporary styles and first-time testing | A planned style with consistent placement |
| Important match factors | Texture, color, length, and clip weight | Texture, color, tab placement, and hair density |
The table shows the central trade-off: clip-ins offer more immediate control, while tape-ins require more commitment to the original application. Neither option guarantees a perfect blend. Your hair's density and texture may matter more than the attachment label.
Shop Clip Hair
-
 Esaurito
Balmain, Balmain, Hair Clip, Black
Prezzo di listino $142.05 USDPrezzo di listino -
Balmain, Balmain, Hair Clip, Silver/Gold
Prezzo di listino $487.56 USDPrezzo di listino -
Balmain, Printemps Floral, Hair Clip, White
Prezzo di listino $488.95 USDPrezzo di listino -
 Esaurito
Balmain, Legacy, Hair Clip, White
Prezzo di listino $535.72 USDPrezzo di listino -
 Esaurito
Balmain, Printemps, Hair Clip, White
Prezzo di listino $428.58 USDPrezzo di listino


Match the Method to Your Hair and Routine
The same extension can look different on different people. Consider your natural hair and your daily habits before focusing on photos of the finished style.
Texture and density come first
Straight extensions may not blend into tightly coiled hair without heat or significant styling. Likewise, a tightly curled piece can look out of place on fine, straight hair. Choose a texture that resembles your natural hair in its usual styled state.
Density matters, too. If your natural hair is fine, a heavy set may create visible bulk or feel uncomfortable. If your hair is thick, a small set may not provide enough coverage to hide the attachment points.
Color should match the mid-lengths and ends of your hair, not only the roots. For highlighted, gray, or multi-tonal hair, a stylist may help you choose a closer blend or suggest a custom coloring approach for human hair.
Consider your styling habits
Choose clip-ins if you enjoy changing your style, want occasional length, or prefer to remove added hair before sleeping or relaxing at home. They also make sense when you are still learning how extensions feel.
Tape-ins may fit a routine built around one planned look. However, adhesive placement requires care, and you need to follow the product's removal instructions. A consultation is especially helpful if you have never used adhesive extensions.
If you frequently wear tight ponytails, slicked styles, or heavy updos, discuss placement with a stylist. The total tension from your hairstyle and extensions can add up.
Hair Health, Tension, and Safe Use
Extensions should enhance your style without causing persistent discomfort. Pay attention to how your natural hair and scalp respond.
Watch for signs of tension
The American Academy of Dermatology explains that tight hairstyles can cause traction alopecia, a form of hair loss caused by repeated pulling. The organization also warns that this hair loss can become permanent. Its guidance on preventing damage from weaves and extensions is useful for anyone considering either method.
Pain, tenderness, headaches, broken hairs around the attachment area, or thinning edges are warning signs. Remove clip-ins if they cause pulling. For tape-ins, contact a qualified stylist for safe removal rather than tugging at the tabs yourself.
People with active hair loss, scalp conditions, very fragile strands, or recent chemical damage should speak with a dermatologist or experienced stylist before using extensions.
Keep care gentle
Brush from the ends upward, and support the hair near attachment points while detangling. Use a suitable conditioner on the lengths, but follow the product instructions around clips and adhesive tabs.
The American Academy of Dermatology's hair-care guidance also covers habits that can contribute to hair damage. Avoid rough handling, excessive heat, and styling practices that create unnecessary stress.
Never sleep in clip-ins unless the manufacturer specifically says they are designed for it. For tape-ins, follow the care directions provided with the product and avoid pulling, twisting, or brushing aggressively over the tabs.
A Beginner Checklist Before You Buy
Check the product details
Look for the hair type, texture, color, length, weight, number of pieces, and attachment method. "Human hair" alone does not tell you whether the texture will blend with your own hair.
Ask yourself:
- Does the texture match my natural hair when styled?
- Is the total weight suitable for my hair density?
- Do I want temporary or attached extensions?
- Can I follow the installation and removal instructions?
- Will I need help with blending or color matching?
Read reviews carefully, but remember that results vary by hair type, product quality, and application technique.
Plan the first application
Wash and fully dry your natural hair according to the product directions. Prepare a clean sectioning comb, gentle brush, clips for separating hair, and a mirror that lets you see the back of your head.
For clip-ins, practice opening and closing the clips before placing them in your hair. For tape-ins, consider a professional appointment for the first installation, especially if you have fine hair, a sensitive scalp, or a complex color blend.
Stop if the extension feels painful or unusually heavy. Comfort is part of a successful result, not an optional extra.
FAQ: Clip-In and Tape-In Extensions
Are clip-ins or tape-ins better for beginners?
Clip-ins are usually easier to understand because you can see the clips, adjust the placement, and remove the wefts. Tape-ins can also work for beginners, but accurate sectioning and adhesive placement matter more. Your hair type and the quality of the application may change which option feels easier.
Can extensions damage natural hair?
Either method can contribute to damage when the hair is overloaded, attached too tightly, handled roughly, or exposed to repeated pulling. Clip-ins are not automatically damage-free, and tape-ins do not automatically damage every head of hair. Stop using extensions if you notice pain, tenderness, breakage, or thinning.
Which method looks more natural?
A natural result depends on matching texture, color, length, and density. Tape-in tabs may look flat when applied correctly, while clip-ins can blend well when hidden under a layer of natural hair. Product quality and styling technique often matter as much as the attachment method.
When should I see a professional?
Book a consultation if you have thinning hair, scalp sensitivity, fragile edges, recent chemical damage, or trouble matching your color and texture. Professional help is also sensible for a first tape-in application or any removal that feels difficult.
Conclusion
Clip-ins give beginners flexible, removable styling, while tape-ins provide an attached option that requires more planning. The right choice depends on your hair's strength, density, texture, and the way you want to wear extensions.
Start with a manageable amount of hair, follow the product instructions, and treat discomfort as a warning rather than something to tolerate. A careful match and gentle application will do more for a natural result than choosing one method as universally better.