

At-Home Manicure Tools for Simple Nail Care
Chipped polish is easy to fix, but sore or peeling nails need a gentler plan. The right at-home manicure tools can help you shape nails, smooth rough edges, and care for dry skin without a salon appointment.
You don't need a large case or an electric drill to get neat-looking nails. A few affordable basics, used carefully and cleaned after every manicure, can support a simple routine. Start by choosing tools that solve everyday problems without damaging the nail or attached cuticle.
At-home manicure tools for your first kit
A beginner manicure kit should be small enough to use comfortably and easy to keep clean. Focus on tools that trim, shape, clean, and moisturize. Skip anything that promises instant results through aggressive scraping or cutting.
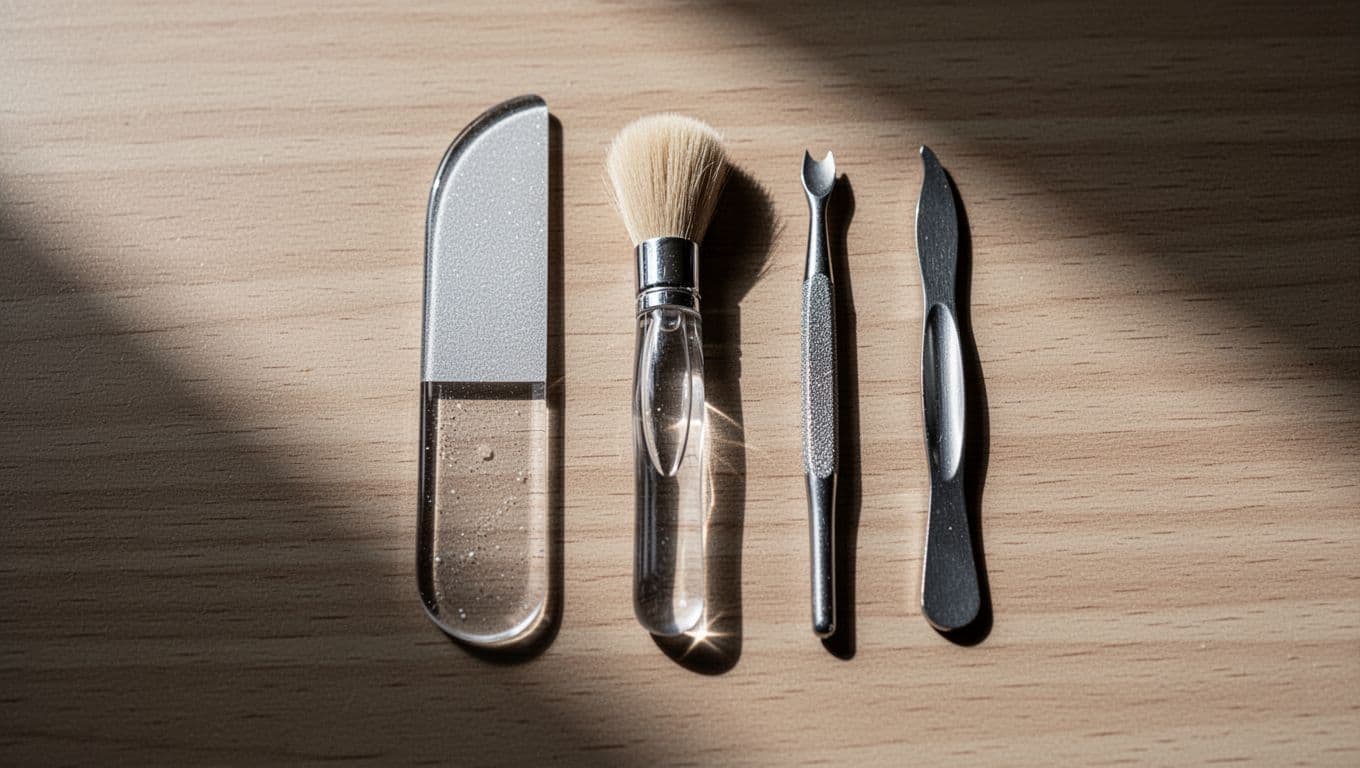
A basic kit can include:
- A nail clipper gives you control when nails become too long. Choose one that opens smoothly and has sharp, even blades.
- A glass file or fine-grit emery board smooths the edge after clipping. A file with a fine surface feels less harsh than a coarse board.
- A soft nail brush removes dirt from beneath the free edge. Use light pressure rather than digging under the nail.
- A wooden or silicone cuticle pusher can gently move softened skin away from the nail plate. This step is optional, and it should never hurt.
- Hand cream, petroleum jelly, or cuticle oil helps reduce dryness around the nails. A basic, fragrance-free moisturizer works well for many people.
A small towel, cotton pads, and polish remover can complete the setup. If you paint your nails, add a base coat and top coat when your budget allows. You can create a polished result without buying a nail drill, UV lamp, or specialty cutter.
How to choose beginner manicure tools
When comparing at-home manicure tools, look for comfort, cleanability, and control. A tool that feels awkward in your hand can cause slips and uneven pressure. Smooth handles and rounded edges are easier for beginners to manage.
Choose a clipper that cuts cleanly instead of crushing the nail. For most fingernails, a standard-sized clipper is easier to control than a large toenail clipper. Glass files are reusable and can be washed, while disposable emery boards should be replaced when their surface becomes rough or worn.
Avoid tools with visible rust, loose hinges, sharp points, or rough seams. Metal tools should have a smooth finish and close evenly. If a product looks difficult to clean, it may not belong in a personal manicure kit.
You also don't need every tool sold in a manicure set. A clipper, file, nail brush, moisturizer, and clean towel cover most basic needs. Add a gentle pusher only if you can use it without scraping or pressing hard.
A simple step-by-step manicure routine
An at-home manicure works best when you slow down at the parts that affect nail health. Set up near good lighting, wash your hands, and give yourself enough time to avoid rushing.
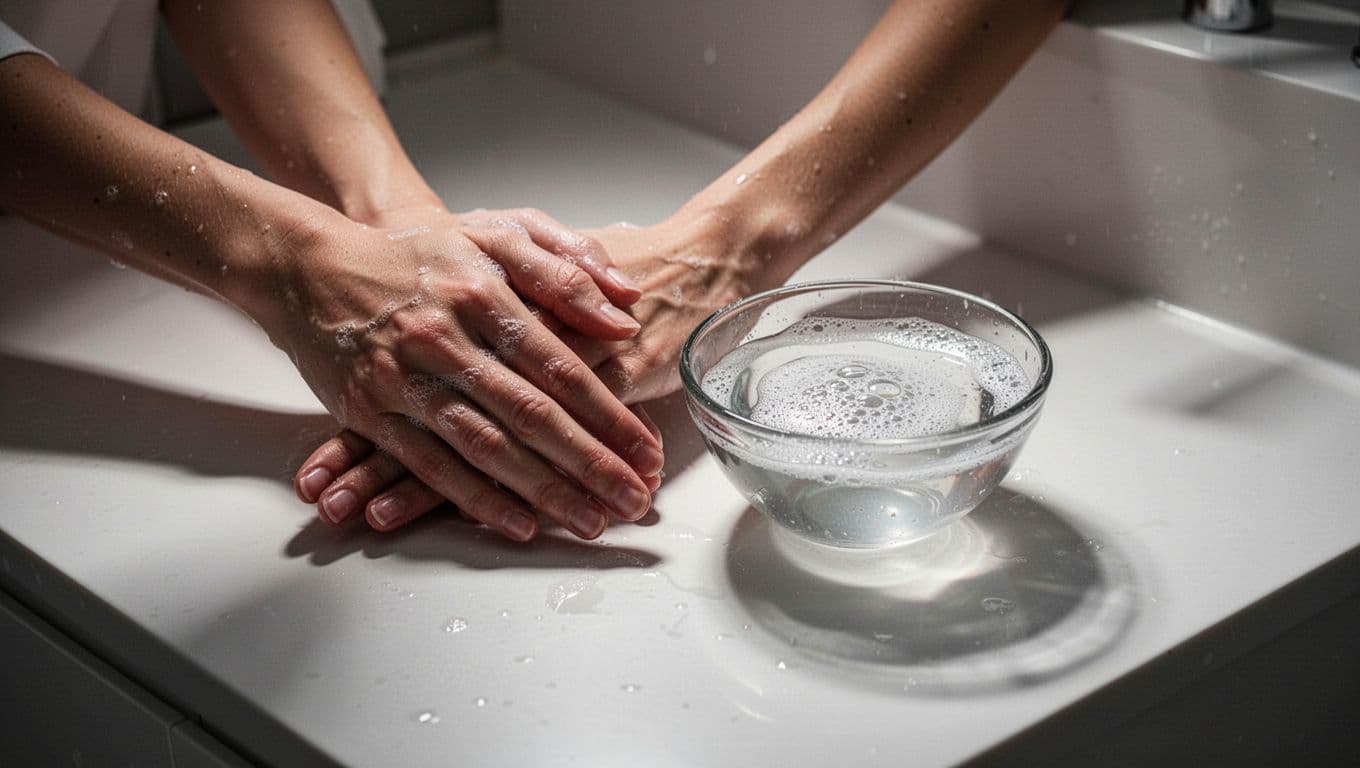
Follow these steps:
- Remove old polish and wash your hands. Use polish remover on a cotton pad, then wash with mild soap and warm water. Dry your hands well, including the skin between your fingers.
- Check each nail before trimming. Look for cracks, lifted areas, discoloration, swelling, or tenderness. If something looks unusual, skip the manicure until you know what caused it.
- Trim only when needed. Use the clipper to take off small amounts at a time. Follow the natural shape of each nail and avoid cutting down into the corners.
- File in one direction. Move the file from one side toward the center rather than sawing back and forth. Use light strokes to smooth snags and soften sharp corners.
- Soften the surrounding skin. Rest your fingertips in warm, soapy water for a few minutes, or apply hand cream after washing. Long soaking can leave nails softer and more prone to splitting.
- Leave attached cuticles alone. The cuticle helps protect the area where the nail grows. If the skin is softened, you may gently push back only a small amount of loose, dead skin. Stop immediately if you feel pain or see redness.
- Moisturize and polish if you want to. Massage cream or oil into the nail folds and hands. If you apply color, use thin coats and allow each layer to dry before adding another.
Your nails don't need constant filing or trimming. For many beginners, a short weekly session is enough. Apply moisturizer after handwashing, and file a rough edge when it appears instead of reshaping every nail each day.
How to sanitize manicure tools at home
Clean tools protect your nails and the surrounding skin. Keep your at-home manicure tools separate from household grooming items, and never share them with another person. Even people in the same household can carry germs without obvious symptoms.
Wash reusable tools with warm water and soap after each use. Scrub away visible residue, rinse thoroughly, and dry them with a clean towel. For metal tools, you can wipe the clean, dry surface with 70% isopropyl alcohol if the material and product instructions allow it. Let the tool air-dry before storing it.
Glass files can usually be washed and dried. Disposable emery boards should stay with one person and need replacement when the surface becomes dirty, uneven, or worn. Wash a nail brush with soap, rinse it well, and allow it to dry fully in an open area.
Don't store damp tools in a closed pouch. Moisture can encourage unwanted growth and may cause metal to rust. A washable case or clean container with ventilation is a better choice.
If a tool touches blood, stop the manicure and wash the area with soap and water. Clean the tool before using it again, and cover the small injury with a clean bandage. Never use a tool that remains dirty, rusty, or damaged.
Shop Nail Art
-
Set, Ciate London, Very Colourfoil Wonderland Carnival Couture, Nail Art Tool Kit
Normaler Preis $9.54 USDNormaler Preis -
Set, Ciate London, Carnival Couture, Nail Art Tool Kit
Normaler Preis $9.54 USDNormaler Preis -
Set, Elegant Touch, Stylist, Nail Art Tool Kit, 5 pcs
Normaler Preis $21.14 USDNormaler Preis -
Jessica, Jessica, Nail Art Brush, Spotter, NA-002
Normaler Preis $9.40 USDNormaler Preis -
 Ausverkauft
Jessica, Professional GELeration, Nail Art Brush
Normaler Preis $10.62 USDNormaler Preis -
Jessica, Jessica, Nail Art Brush, Detailed, NA-001
Normaler Preis $10.63 USDNormaler Preis -
Jessica, Jessica, Nail Art Brush, Mini Striper, NA-003
Normaler Preis $10.75 USDNormaler Preis -

 Ausverkauft
Opi, Competition Striper, Nail Art Brush
Normaler Preis $13.61 USDNormaler Preis


Beginner mistakes that can damage nails
Cutting cuticles is one of the most common mistakes in home manicures. Attached cuticle tissue is part of the nail's protective barrier, so trimming it can create small openings around the nail. Instead, moisturize dry skin and leave attached tissue in place.
Filing too aggressively can make the free edge thin and uneven. Use short, gentle strokes, and stop once the snag disappears. Buffing also needs restraint. A buffer removes part of the nail surface, so occasional light use is safer than frequent polishing.
Peeling off polish can remove layers from the nail plate. Soak a cotton pad with remover, hold it over the nail for a short time, and wipe gently. If the polish resists, repeat the process rather than scraping.
Digging under the nail with sharp tools can irritate the skin and push debris farther inward. A soft nail brush is safer for routine cleaning. Keep nails at a practical length if they catch on clothing or split often.
When to pause and seek medical advice
Stop home care if you notice persistent pain, increasing redness, swelling, warmth, bleeding that won't stop, drainage, or pus. A bad smell, nail lifting, a new dark or greenish color, sudden thickening, or another unusual nail change also needs attention.
Don't cover a possibly infected nail with polish or keep filing it to hide the change. Seek professional medical advice, especially if symptoms continue or worsen. People with diabetes, poor circulation, or a weakened immune system should ask a clinician before treating nail problems at home.
Healthy nail care should feel comfortable. A manicure is not supposed to cause throbbing, burning, or soreness that lasts beyond the appointment.
Build a routine you can keep
The best at-home manicure tools are the ones you can control, clean, and use without hurting your nails. Start with a clipper, fine file, nail brush, and moisturizer. Add other items only when you have a clear reason to use them.
Gentle trimming, one-direction filing, intact cuticles, and regular sanitation create a better foundation than an oversized tool kit. With a few minutes of careful maintenance, your nails can look neat without sacrificing their comfort or health.