

How to Choose a Lace Frontal for a Sew-In Installation
The right frontal balances fit, styling freedom, complexion, and cost. A lace frontal sew-in offers an exposed hairline and flexible parting when its fit and lace tone suit your complexion.
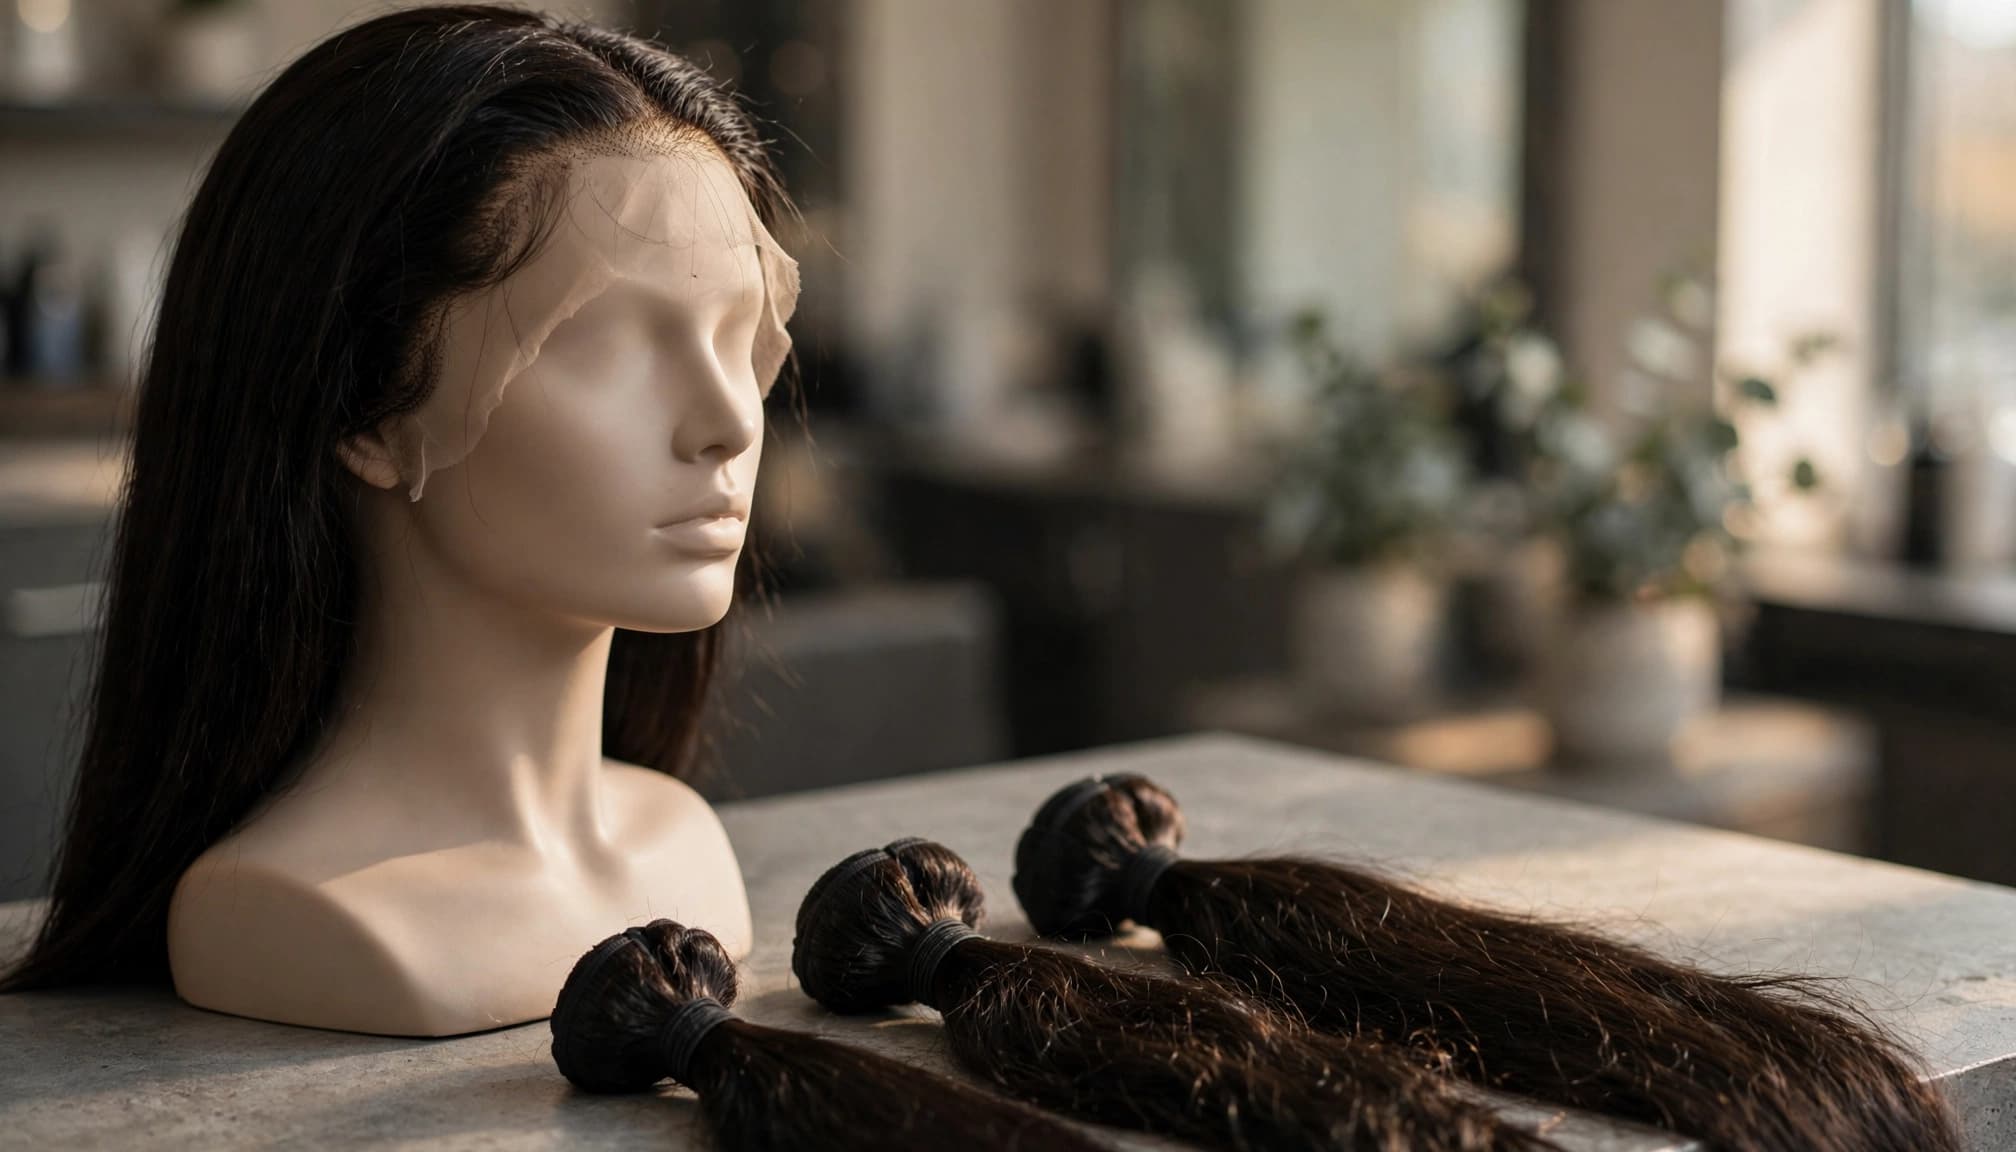
A 13-inch-wide lace piece, usually 13x2 or 13x4, is sewn onto braided natural hair, with bundles behind it. Before you buy, compare coverage, lace type, hair length, and style, then plan to customize it and maintain it regularly.
Key Takeaways
- Choose a 13x2 lace frontal for lower cost and less lace, 13x4 for moderate parting, or 13x6 for deeper parting.
- Match lace to your complexion and styling plans for a natural-looking hairline. Bleach knots only when needed, and preserve some baby hairs when plucking.
- Most installs use 2 to 4 bundles, but hair length, density, and style affect the amount.
- A frontal can be sewn or bonded. Sewing avoids adhesive, while bonding is common and may create a flatter edge.
- Plan to revisit the install after a few weeks as natural hair grows and the fit shifts.
Choose a Frontal Size for Your Styling Plans
All three common frontal sizes span the front hairline from ear to ear. The second number shows how far the lace extends back, which affects where you can part the hair.
Compare 13x2, 13x4, and 13x6
A 13x2 lace frontal uses less lace and often has a lower cost, but its shallow parting area limits styling options. A 13x4 frontal offers moderate room for a side or middle part. With 13x4, you can change your part without managing as much lace as the largest size. For a sew-in, 13x4 can suit styles that need parting flexibility without extra lace depth.
More lace doesn't automatically mean a better fit. A larger frontal also means more area to tint, trim, and secure. For a size comparison, see this guide to 13x4 and 13x6 lace frontals.
Decide whether you need a frontal or a closure
A full frontal covers the hairline, while a lace closure covers a smaller area, often at the crown or part. The frontal allows exposed-side and pulled-back styles. A lace closure needs less customization and can suit someone who prefers a fixed part.
If your planned style keeps the sides covered, a closure may be enough. A 6x6 HD lace closure is another option for a sew-in that needs parting space without an ear-to-ear frontal.
Match Lace and Hairline to Your Complexion
Labels such as transparent and HD aren't standardized, so compare a lace frontal's actual tone and construction rather than relying on its name. Lighting and placement against your skin also affect how well it blends.
Consider lace type and shade
Transparent and HD lace are common labels for fine lace pieces, but sellers use them inconsistently. The lace tone, lighting, and placement along your hairline determine how well the frontal blends with your complexion. A close color match may need less adjustment, while a contrasting tone can remain visible. Some wearers use lace tint or a small amount of foundation to improve the match.
A silk-based frontal can create a scalp-like appearance without knot bleaching, though it may look or feel different from a lace base. No single type blends perfectly with every complexion, so ask a stylist to assess the lace against your skin and hairline placement.
Plan the hairline before plucking
A pre-plucked edge needs little work, though you can customize it with minor shaping. When plucking, remove small amounts at a time to soften a dense, straight edge. Don't remove all the baby hairs, since they help create a natural transition and can be styled over the lace.
Bleaching knots can make dark knots look more like the scalp beneath the lace, but overprocessing can weaken the hair at the base or leave knots too light. If you don't need this treatment, choose a silk-based option or ask a professional stylist to assess whether the knots need it.
Set a Realistic Budget and Bundle Count
The lace piece is only one part of the total cost. Hair length, lace size, bundle quality, and salon labor all affect the final price.
Separate the frontal price from installation
Private Label Extensions lists prices at about $80 to $200 before bundles, while raw hair options are roughly $150 to $200 or more. Those raw hair figures cover the product, not installation. A broader estimate for hair pieces and extensions ranges from about $70 to over $443, while salon installation is around $195. Those figures cover different combinations of products and labor, so they aren't directly comparable as one total.
Shorter hair, around 10 to 14 inches, generally has a lower price than 16 to 20-inch hair. A 13x2 frontal also tends to have a lower cost than a 13x4 because it uses less lace. Private Label's frontal FAQ and pricing guidance offers more context on product prices.
Estimate how many bundles you'll need
Most sew-ins use 2 to 4 bundles. The right amount depends on length, desired fullness, and coverage. Longer lengths can appear thinner toward the ends, so a stylist may recommend extra hair for a full look.
For a 360 lace frontal, a common estimate is about two bundles up to 22 inches and three bundles for lengths over 24 inches. Treat this as a starting point, not a fixed formula: texture and density can change how much hair the finished style needs.
Understand the Fit and Installation Sequence
A secure, natural-looking install starts before sewing begins. The braid pattern, frontal position, and fit affect how the finished edge sits.
Measure and customize before sewing
First, lay the lace frontal against the head and check that it reaches from temple to temple without pulling. Trim excess lace around the perimeter, leaving enough for final adjustments. Position the frontal along or slightly ahead of the natural hairline, with its edge in front of the braids.
Braid the natural hair flat, often straight back or in a zigzag pattern. Flat braids create an even base for the sew-in and help the frontal sit securely. Keep the braids flat at the temples and crown. Head shape, hair density, braid pattern, and hairline placement all affect the fit, so ask a stylist to assess it before cutting or attaching the piece.
Attach the frontal and fill the back
Sew it to the braids or a perimeter elastic band, keeping the lace flat and the tension comfortable. The braids should feel secure without pulling. Then sew the remaining bundles into the back tracks, working toward the frontal.
Add tracks to match your intended fullness. At the back, take each track to the edge and join it to the next instead of leaving a gap. For a visual walkthrough of a no-glue method, see this lace frontal sew-in tutorial.
Use mousse to set the baby hairs. Apply edge control to shape them, then smooth the finished style with a little more mousse. Trim the remaining lace close to the hairline, then melt or secure the edge against the skin with the method chosen for the install.
Shop Best Sellers
-
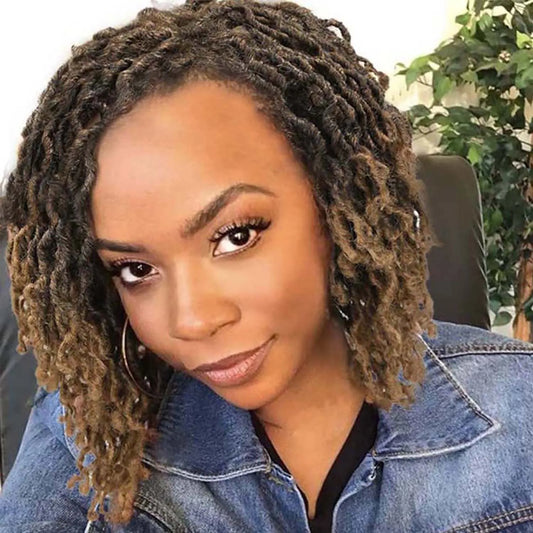
Short Goddess Faux Locs Wig | Brown Highlight Crochet Dreadlock Wig
Prezzo di listino Da $158.00 USDPrezzo di listino$190.00 USDPrezzo scontato Da $158.00 USDIn offerta -
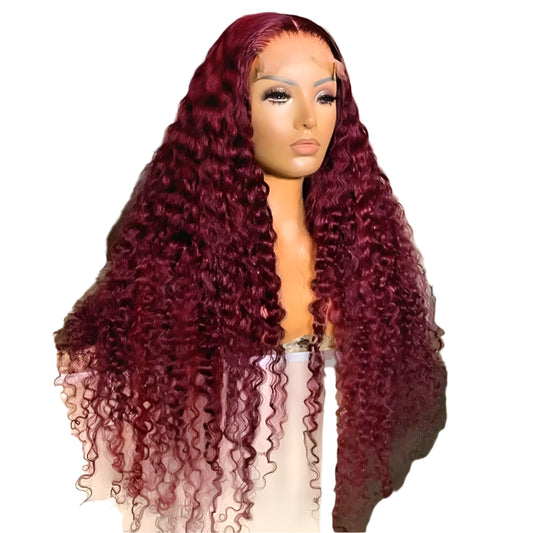
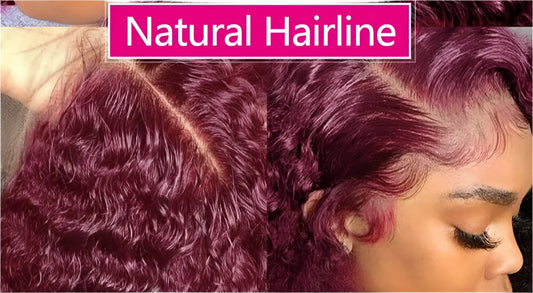
30 Inch Burgundy 99J Curly Human Hair Wig | 13x6 Lace Frontal | 200% Density
Prezzo di listino Da $257.00 USDPrezzo di listino$0.00 USDPrezzo scontato Da $257.00 USD -
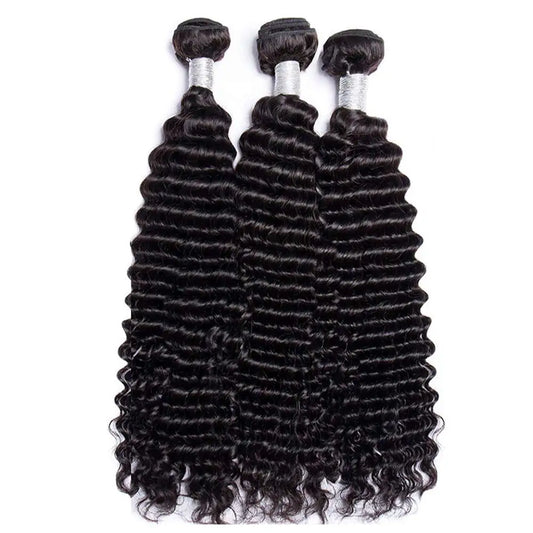
12A Deep Wave Remy Human Hair Bundles | 30 to 32 Inch Weft Extensions
Prezzo di listino $364.00 USDPrezzo di listino$0.00 USDPrezzo scontato $364.00 USD -
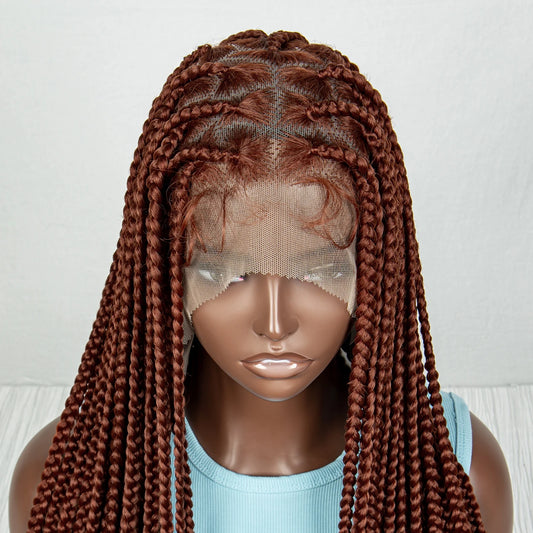
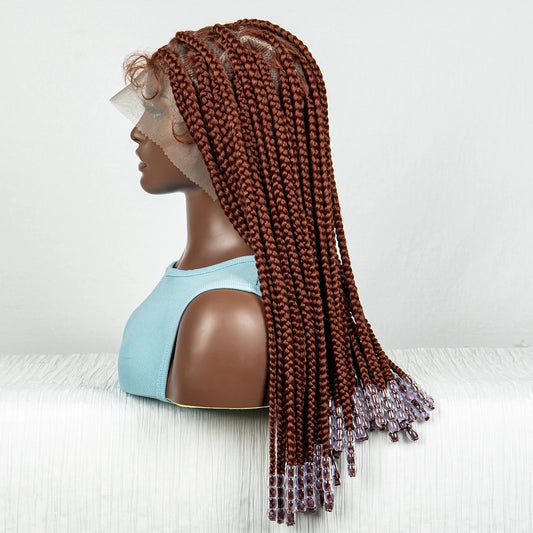
#350 Knotless Box Braids Wig | Short Lace Frontal Bob | Dark Ombre Ginger
Prezzo di listino $262.50 USDPrezzo di listino$0.00 USDPrezzo scontato $262.50 USD -
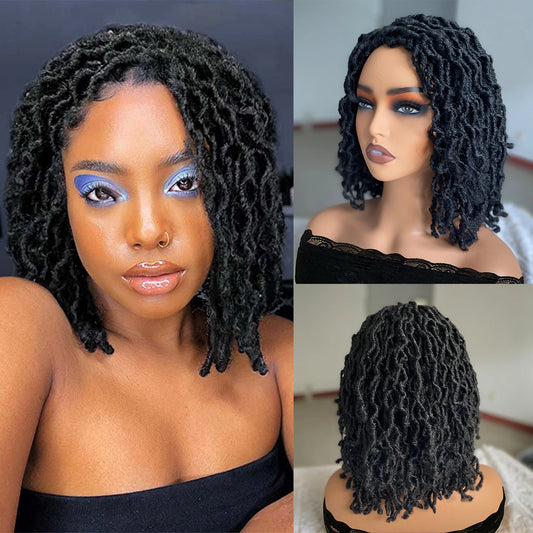
Short Afro Faux Dreads Wig | Synthetic Braided Wig for Men and Women
Prezzo di listino $90.00 USDPrezzo di listino$120.00 USDPrezzo scontato $90.00 USDIn offerta -
12A Raw Vietnamese Bouncy Wave Wig | 13x4 Lace Frontal | 250% Density
Prezzo di listino Da $242.00 USDPrezzo di listino$0.00 USDPrezzo scontato Da $242.00 USD -
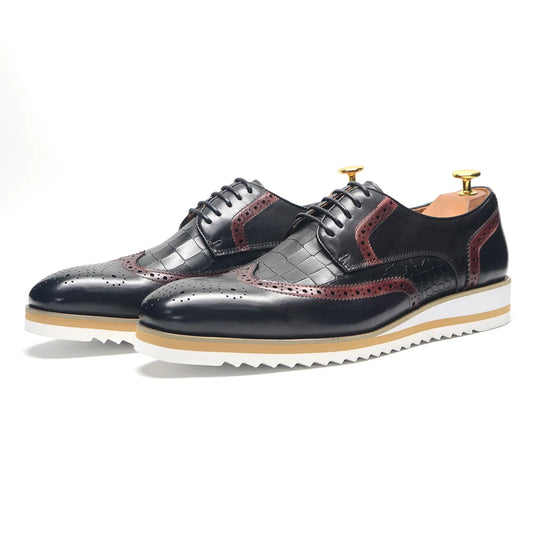
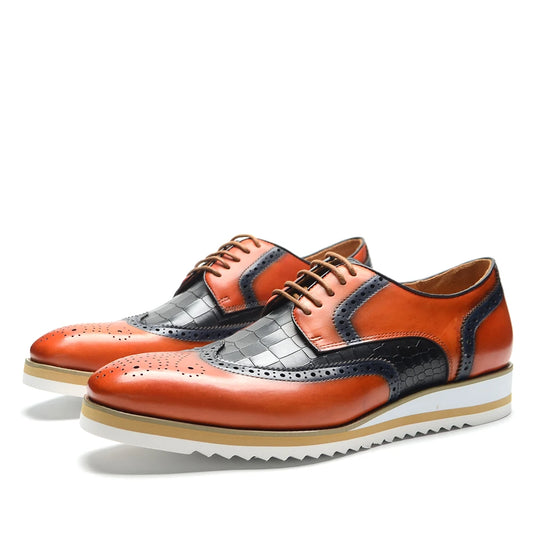
Men's Wingtip Derby Shoes | Genuine Leather Colour Block Lace-Ups
Prezzo di listino $263.00 USDPrezzo di listino$301.00 USDPrezzo scontato $263.00 USDIn offerta -
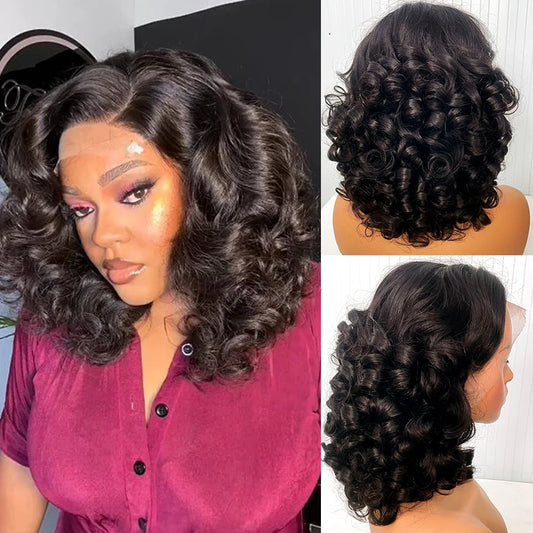
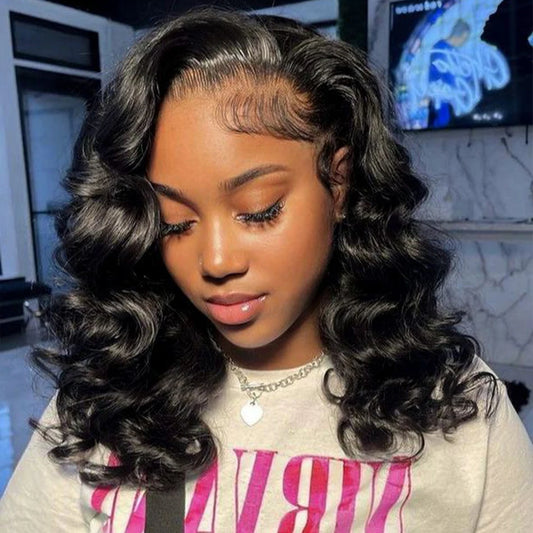
Brazilian Human Hair 13x4 Lace Front Wig | Glueless, Pre-Plucked with Baby Hair
Prezzo di listino Da $99.00 USDPrezzo di listino$132.00 USDPrezzo scontato Da $99.00 USDIn offerta





Decide Between Sewing and Bonding
A frontal is often bonded at the hairline, while closures are commonly sewn. Still, sewing a lace frontal without glue or gel is possible, as the tutorial above demonstrates. The right method depends on your preferences, skin sensitivity, skill, and upkeep plans.
Avoiding adhesive at the hairline
Attaching a frontal to braids or a perimeter band with stitches avoids glue directly along the hairline. This may suit someone who prefers to avoid adhesive or wants stitching to hold the piece in place. The fit still needs to feel secure and comfortable, since excess tension can pull at the braids or make the lace sit unevenly.
Bonding can help secure the edge
Adhesive can help a frontal's lace edge lie flat and melt into the hairline, but it requires careful application and removal. Product buildup, irritation, or rough removal can affect the hairline and skin. If you have sensitivity or aren't confident applying or removing adhesive, ask a professional stylist about options for your needs.
Indique lists sew-in, glue-in, and tape-in methods for frontals and closures. Its frontals and closures guide also discusses care considerations for these pieces.
Plan for Reinstallation and Everyday Care
A frontal can shift as natural hair grows, so plan for maintenance and future installs rather than expecting one install to stay fixed indefinitely. How long it stays neat depends on fit, attachment, hair growth, and care. Regular maintenance helps you catch changes early.
Protect the hairline at night
Tie your hair down before bed to keep the frontal flat. This reduces friction and movement at the hairline. A little mousse or edge control can smooth the style, while a melt product can help set the lace when used as directed. Avoid heavy heat styling close to the lace, since repeated heat can stress the hair and attachment.

Wash gently and watch for shifting
Use sulfate-free shampoo and avoid scrubbing or tugging at the lace. Dry the hair and base thoroughly, and handle the frontal's front edge gently when combing. For more detail on limiting heat damage, see our heat-styling tips for lace front wigs.
If the edge starts lifting, the frontal moves as you style, or the braids become uncomfortable, don't keep pulling it back into place. A stylist can assess whether it needs adjustment or a reinstall.
Lace Frontal Sew-In FAQs
Can you sew in a lace frontal?
Yes. You can sew a frontal onto braids or a perimeter band. Some installs use adhesive at the hairline, but sewing without glue or gel is also possible.
How long does a lace frontal sew-in last?
Usually a few weeks, until hair growth shifts the lace and prompts reinstallation. Attachment and care affect wear time.
How much does a lace frontal cost?
A frontal alone usually costs $80 to $200 before installation. A closure may cost less. Longer hair, raw hair, and larger lace sizes cost more, and salon labor adds to the total.
How many bundles do I need?
Most installs need two to four, depending on length, texture, and desired fullness.
Should I bleach knots and pluck the hairline?
Bleaching knots can help them blend with the scalp, but silk-based frontals don't need it. Pluck gradually and leave some baby hairs.
Is it better to sew or glue a frontal?
Sewing avoids adhesive along the hairline, while bonding can secure the lace edge. Choose based on your hairline and preferences, or ask a stylist for guidance.
Choose for Fit, Not Just Coverage
The right frontal fits your head, matches your complexion, and suits your styling plans. A 13x4 can offer a middle ground, but choose coverage based on your needs. Include bundles, labor, and total cost in your budget, and consider whether raw hair fits your needs.
A well-fitted frontal can create a natural-looking hairline; careful maintenance keeps it neat until the next reinstall.